

 Dwi Wanna
 Nana Wu
 Muslim
 Reynand Wu
 Ammar Sabilarrohman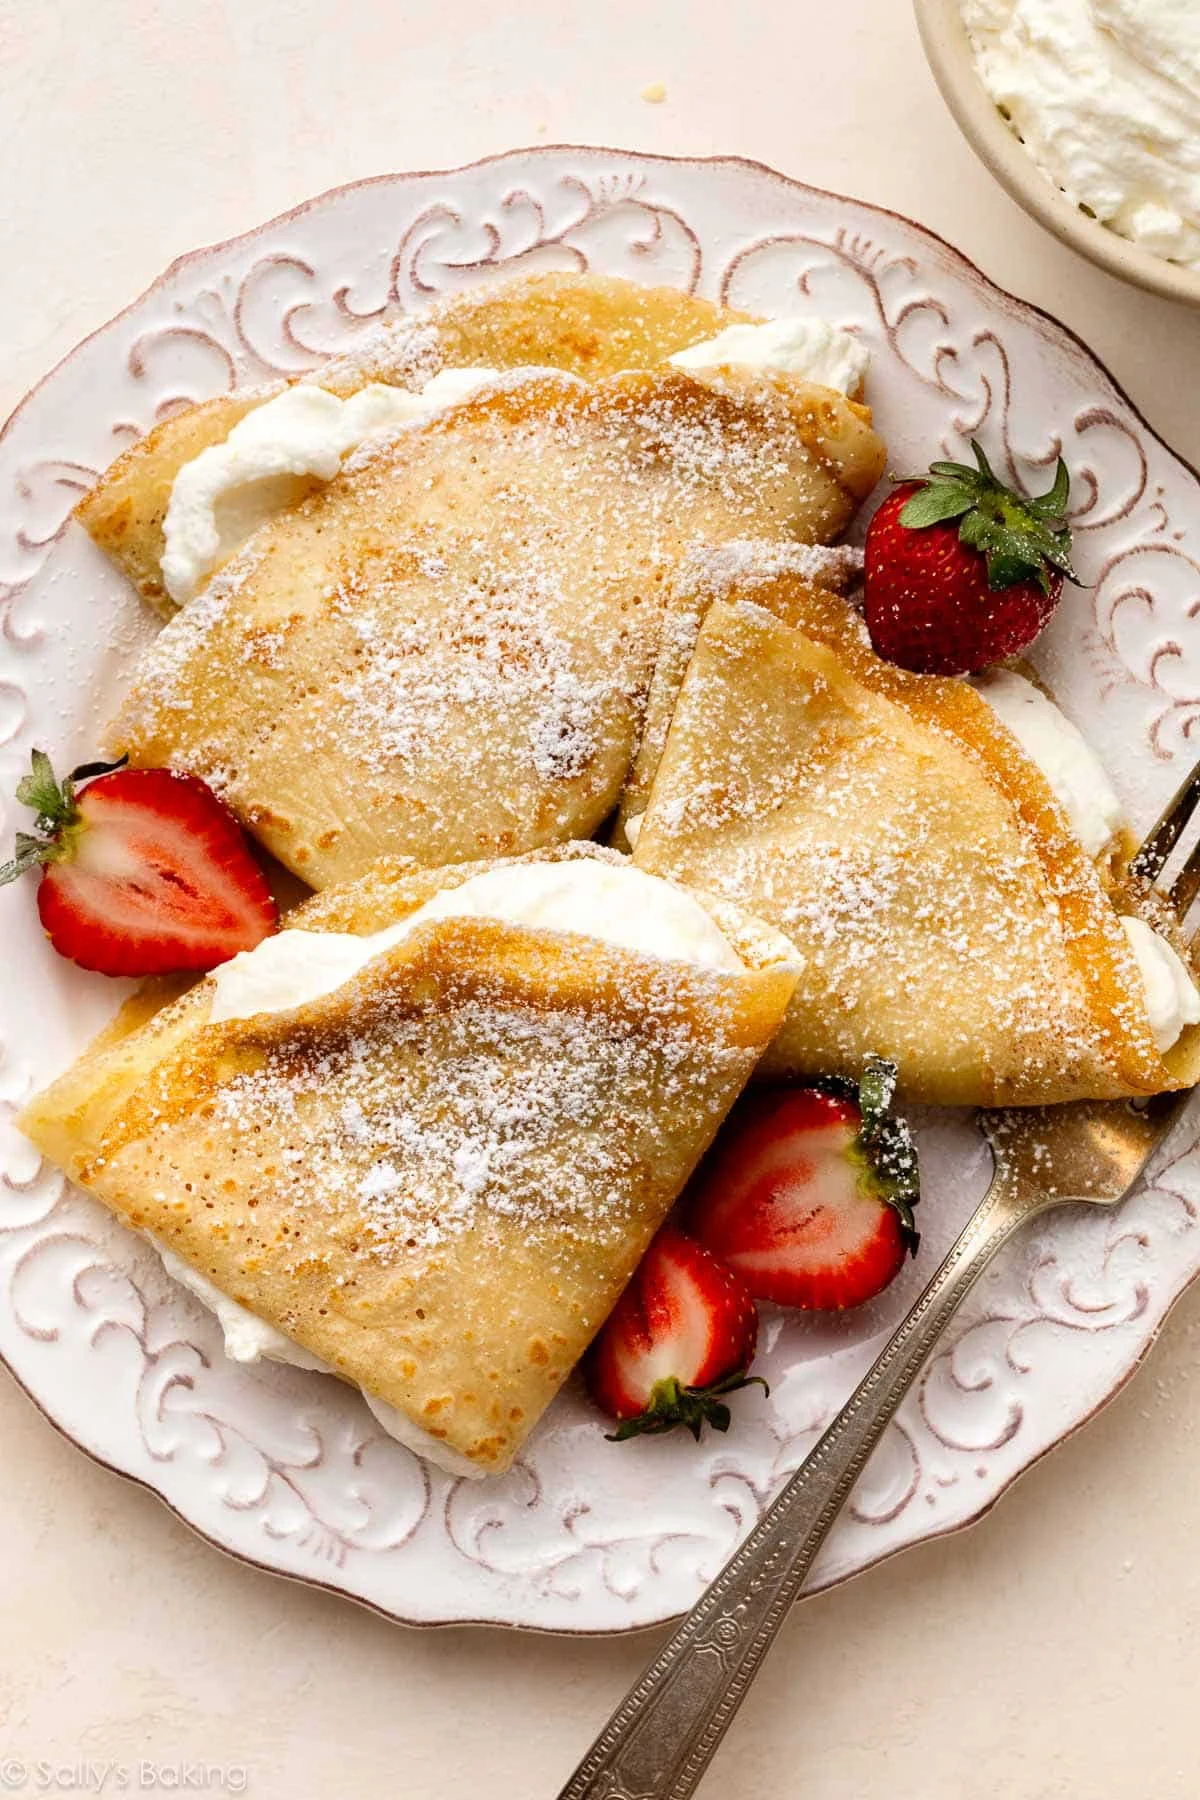
For many home cooks, the mere mention of “crepes” conjures images of bustling Parisian street corners or high-end brunch bistros, where chefs expertly swirl batter across specialized circular pans. There is a prevailing myth that these delicate, lace-like French pancakes require professional culinary training or a battery of expensive equipment. However, the reality is far more accessible: with just eight basic pantry staples and a standard household skillet, anyone can master this quintessential dish.
As the culinary world pivots toward simplified, high-quality home cooking, the crepe has emerged as the ultimate versatile medium. Whether served as a breakfast staple topped with fresh seasonal berries and whipped cream, or transformed into a sophisticated dinner entrée stuffed with savory gruyère, sautéed spinach, and ham, the crepe offers a blank canvas for limitless creativity.
The Foundation: Understanding the Anatomy of a Crepe
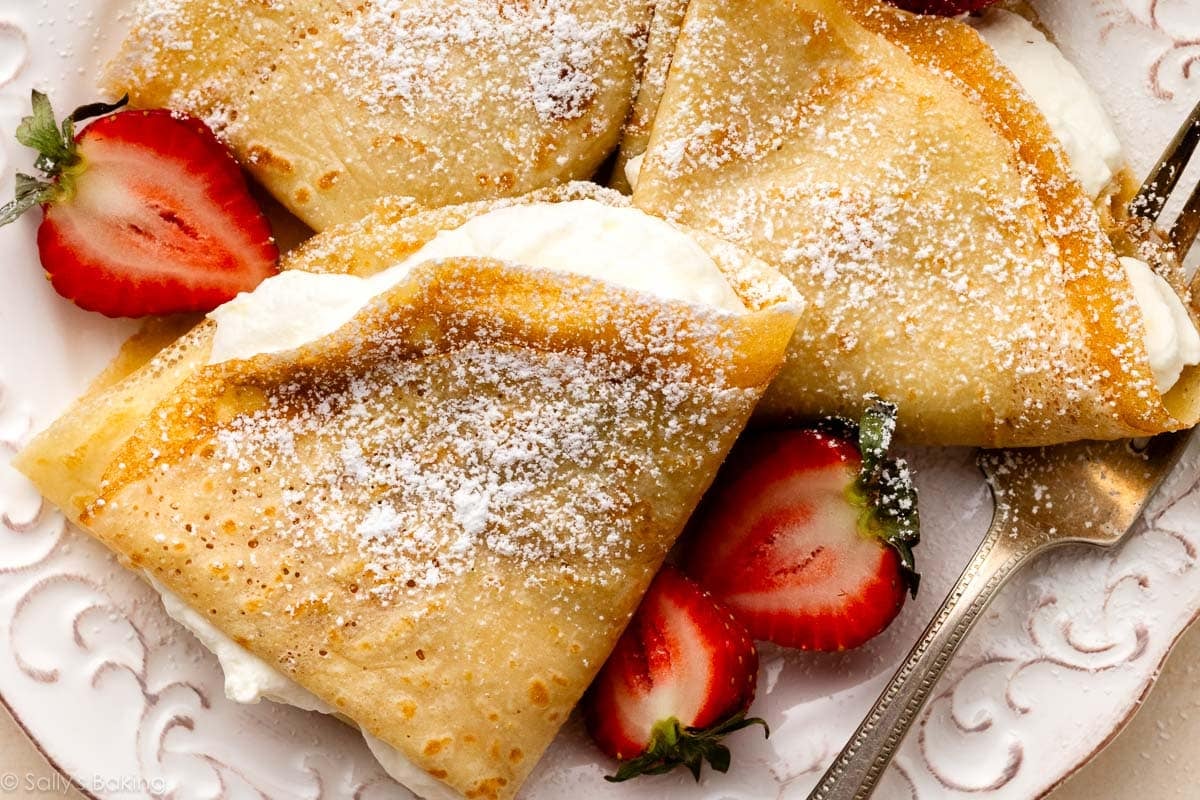
At its core, a crepe is a minimalist masterpiece. Unlike American-style pancakes, which rely on leavening agents like baking powder or baking soda to achieve a fluffy, thick structure, a classic French crepe is entirely unleavened. This lack of aeration is exactly what allows it to achieve its signature thin, flexible, and tender consistency.
The structural integrity of a crepe comes from the precise hydration of flour proteins. When flour, eggs, and liquid—typically a combination of milk and water—are blended and rested, the resulting batter becomes a cohesive, elastic sheet that can be folded, rolled, or layered without cracking. This structural reliability is what makes them ideal for the “crepe cake” trend, a towering dessert that relies on the stacking of dozens of paper-thin crepes separated by delicate layers of cream.

A Chronological Guide to Masterful Execution
Achieving the perfect, restaurant-quality crepe at home is less about culinary luck and more about understanding the mechanical process of the batter.
Phase 1: The Blend
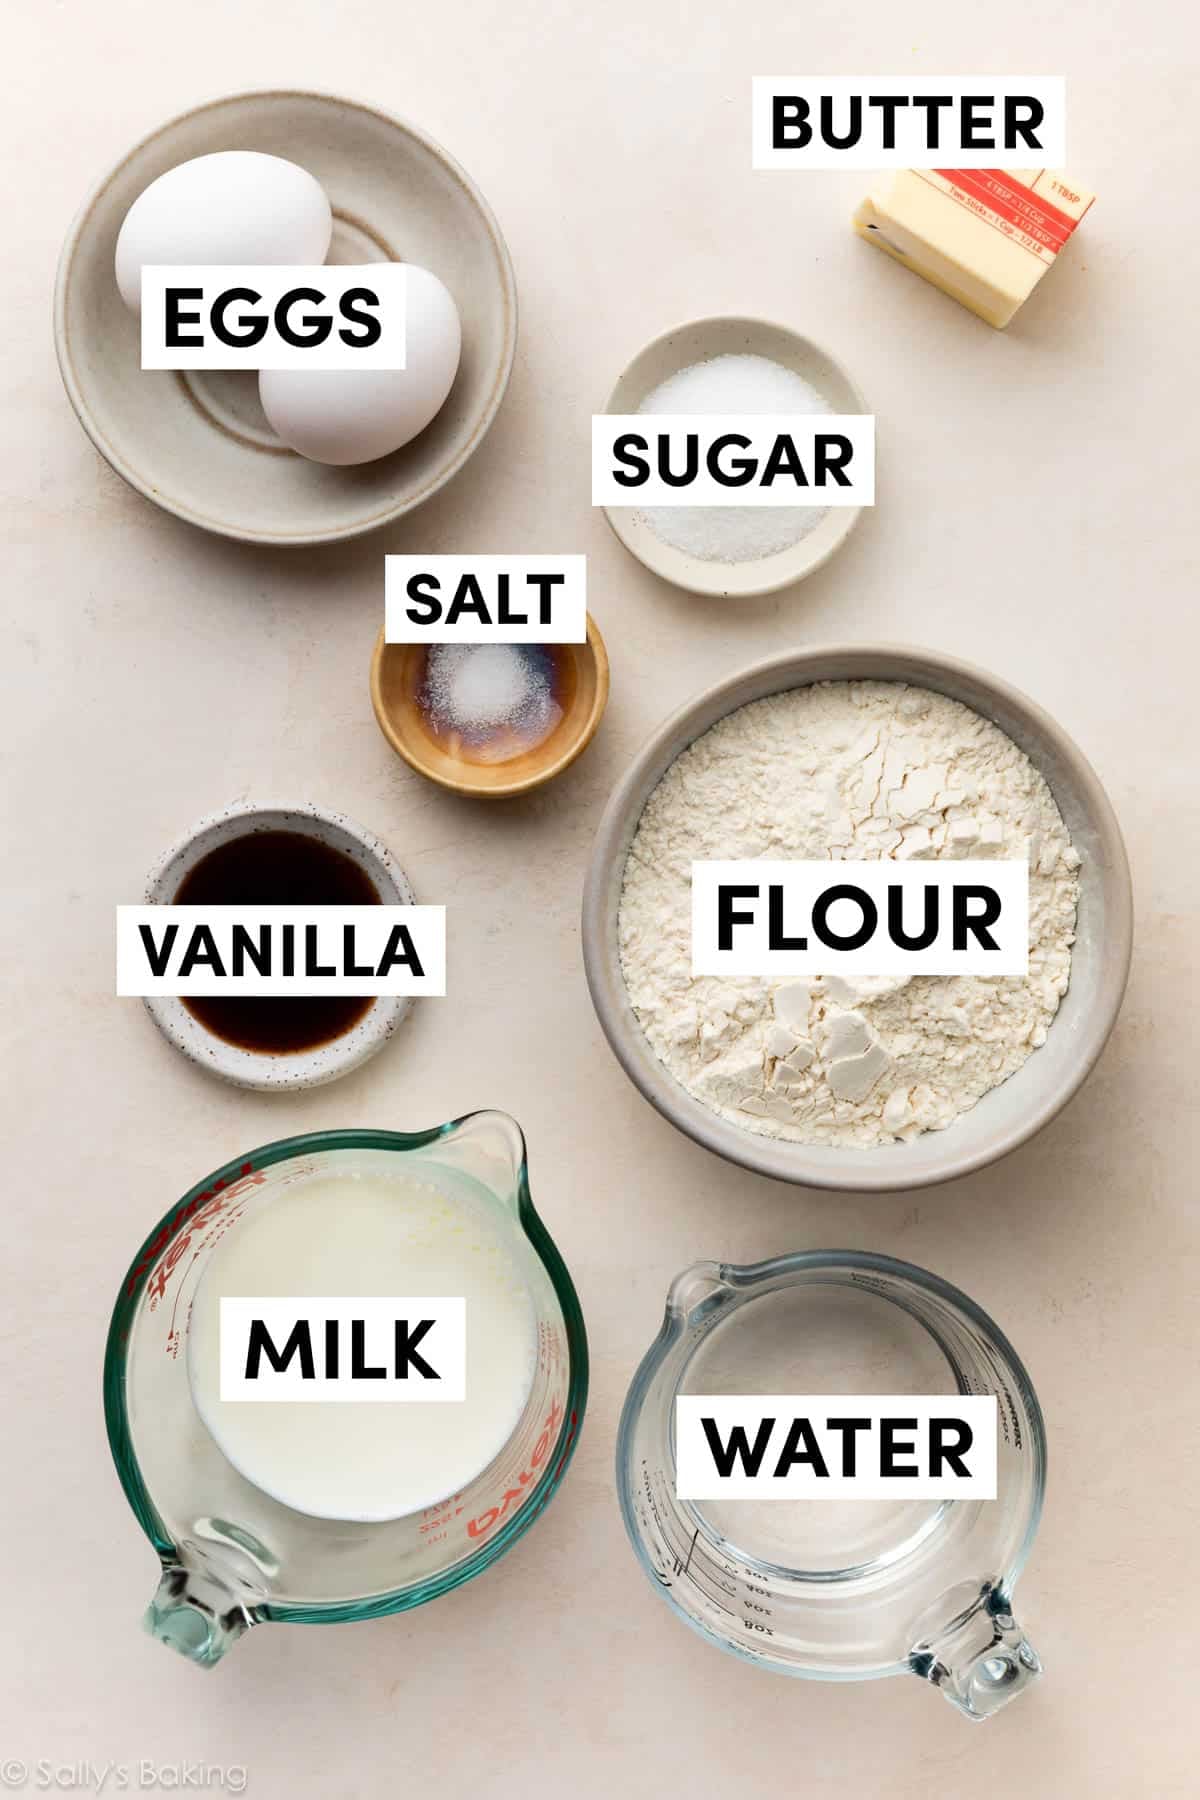
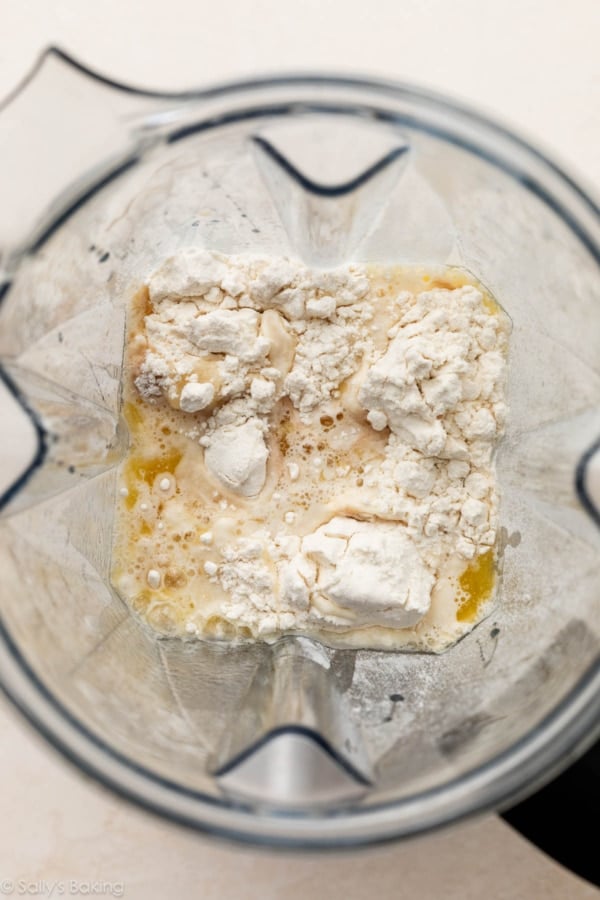
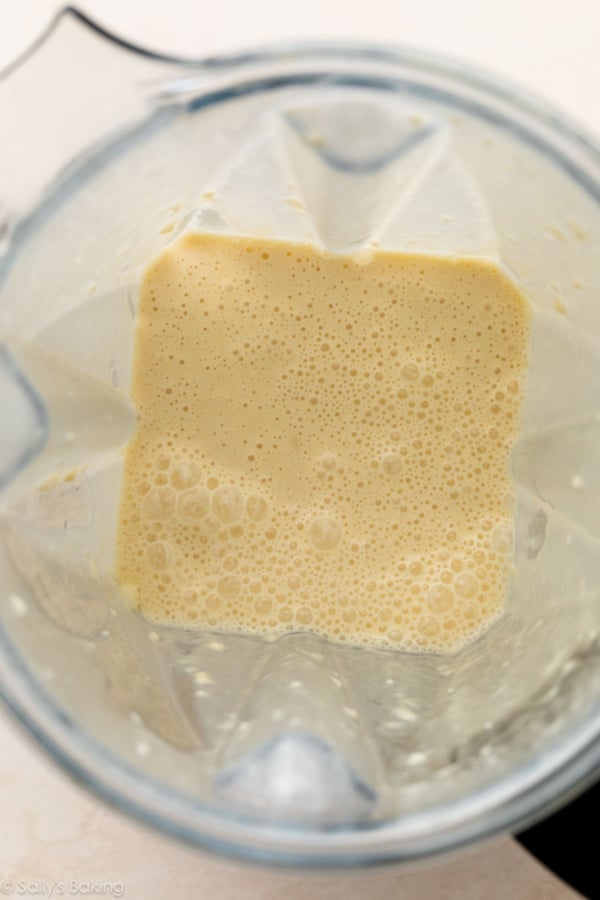
The journey begins with the batter. While a whisk and a mixing bowl are traditional, the modern home cook has a secret weapon: the blender. By combining melted butter, eggs, milk, water, sugar, salt, and flour in a high-speed blender, you ensure the complete emulsification of ingredients. The blender breaks down flour clumps that might otherwise persist in a hand-whisked bowl, resulting in a perfectly smooth, velvety batter that mimics the consistency of heavy cream.

Phase 2: The Critical Rest
The most frequently ignored step in amateur kitchens is the "rest." Once the batter is mixed, it should be refrigerated for a minimum of 30 to 60 minutes. This is not a suggestion; it is a chemical necessity. During this time, the starch molecules in the flour absorb the liquid, and the gluten relaxes. If you cook the batter immediately, the crepes are prone to toughness and tearing. Resting allows the air bubbles created by the blending process to dissipate, ensuring a smooth surface that cooks evenly across the pan.
Phase 3: The Pan Technique
You do not need a professional crepe maker. A standard 8-inch non-stick skillet is sufficient. The technique, however, requires a bit of finesse. The pan must be lightly greased with butter—excessive oil creates a heavy, greasy crepe, while a thin sheen ensures a crisp, golden edge.
As you pour roughly three to four tablespoons of batter into the center, the pan must be lifted and swirled in a continuous, rhythmic motion. This centrifugal force pulls the batter toward the edges of the pan, thinning it out into a translucent, circular shape. If the batter is too thick, you will end up with a tortilla-like texture; the goal is to achieve a “lace” quality that is barely thick enough to hold its own weight.
Phase 4: The Flip
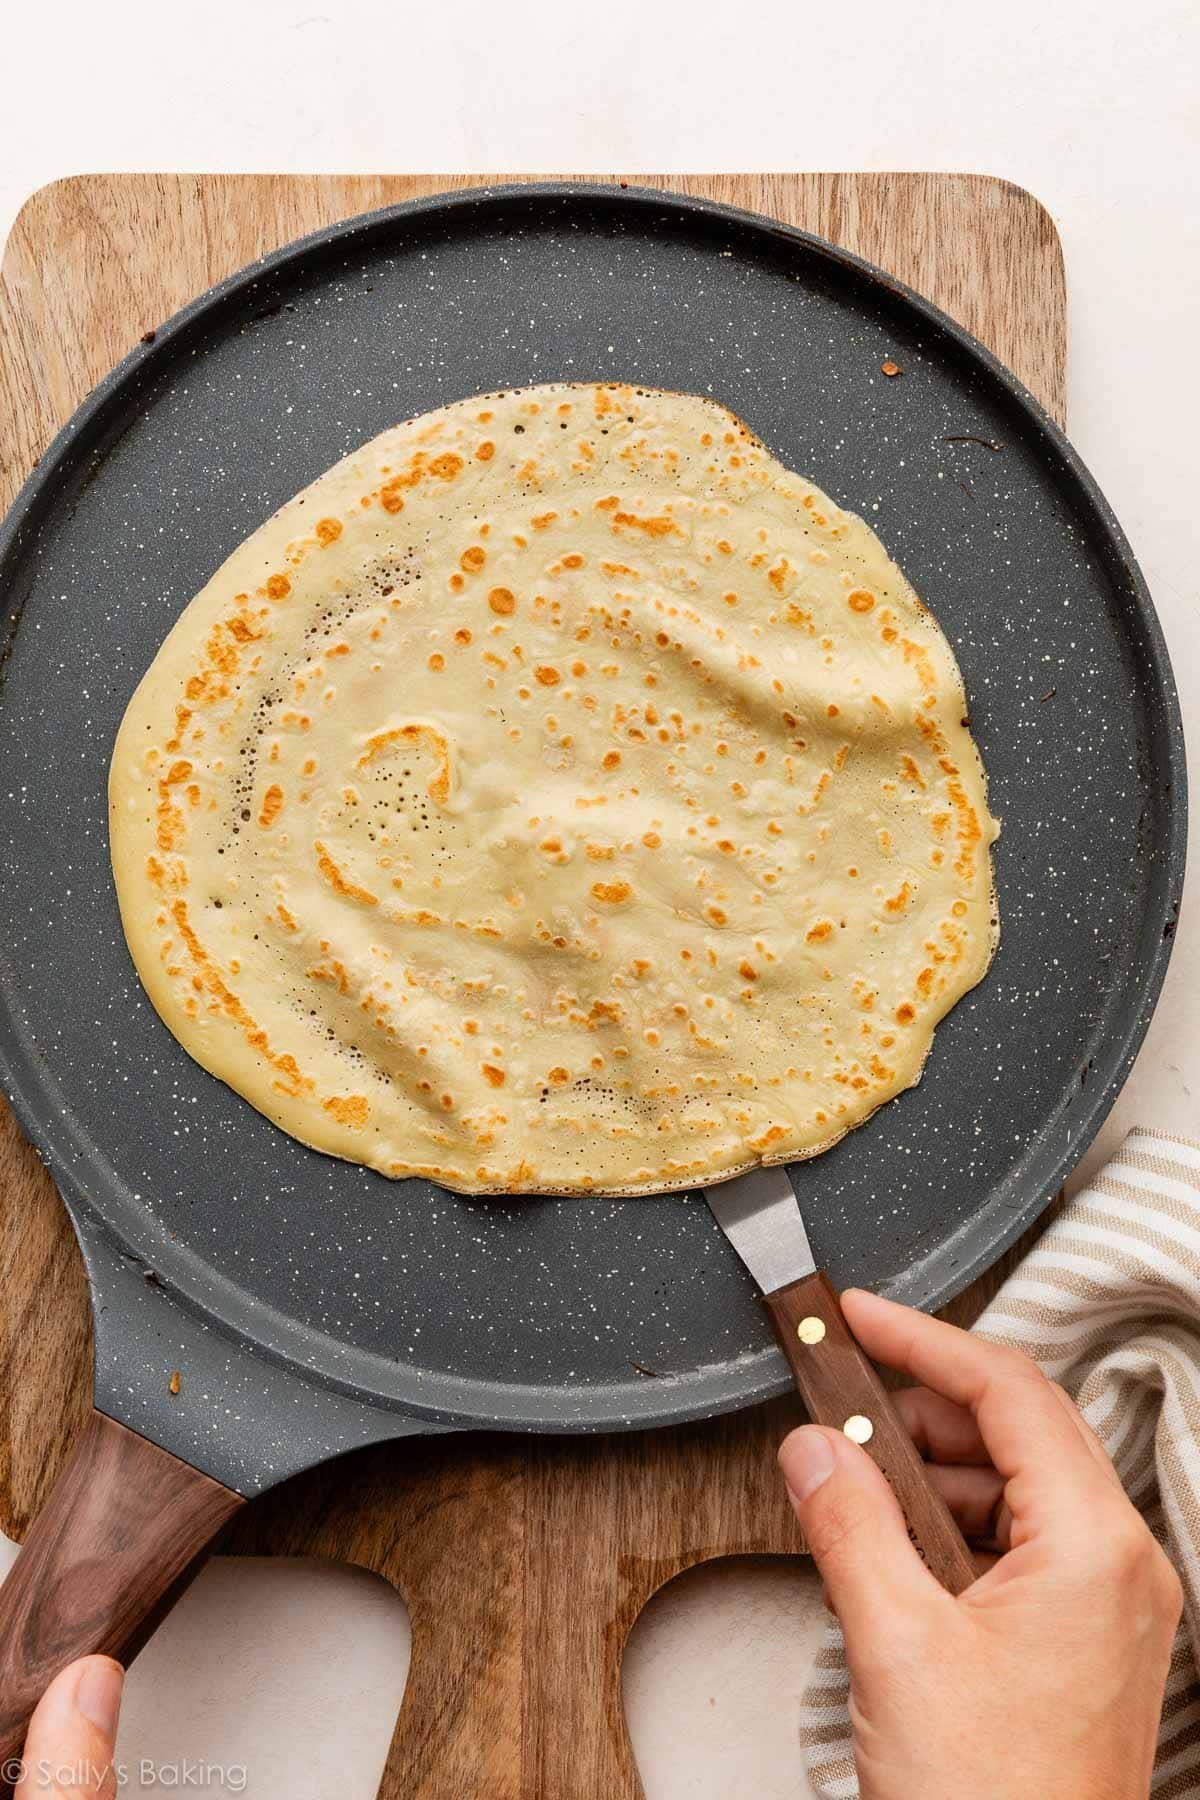
Patience is the final ingredient. A crepe typically requires about 60 to 90 seconds on the first side. You will know it is ready when the edges begin to lift slightly from the pan and turn a light golden brown. A quick, confident flip allows the second side to finish in a mere 30 seconds, locking in the moisture and ensuring the center remains soft and pliable.
Supporting Data: Why Consistency Matters
The success of a recipe is often measured by its reproducibility. According to home cooking enthusiasts and culinary experts, the primary failure points in crepe making are consistently identified as temperature control and batter volume.
- The Temperature Variable: Using heat that is too high results in "burnt spots" before the center has a chance to set. Medium heat is the gold standard, providing enough energy to create the signature golden-brown color without compromising the delicate structure.
- The Volume Constant: Over-pouring is the most common error. The "3-tablespoon rule" serves as an effective metric for an 8-inch pan. Using a standard measuring spoon prevents the variation that leads to thick, doughy crepes.
- The "Leftover" Factor: The versatility of the batter extends to its shelf life. Properly sealed in an airtight container, the batter can last up to 24 hours in the refrigerator. This allows for a "prepared-in-advance" morning routine, where the batter is ready to pour the moment the pan hits the heat.
Official Perspectives: Expert Insights on Success
Professional chefs often emphasize that the crepe is a "forgiving" dish once the technique is understood. In a recent dialogue regarding the evolution of home baking, experienced culinary instructors pointed to the "Jane and Auggy" effect—the phenomenon where beginners, upon their first successful attempt, become weekly practitioners of the craft.
"The beauty of the crepe," says one culinary expert, "is that it removes the pressure of rising. You aren’t fighting chemistry to get a lift; you are simply managing texture. Once you master the wrist-swirl of the pan, you have unlocked a tool that serves every meal of the day."
Expert troubleshooting tips for common issues:
- Rubberiness: This is almost exclusively a result of overcooking. Because crepes are so thin, they hold heat differently than pancakes. Remove them from the pan the moment the edges appear crisp.
- Tearing: If your crepes are tearing, it is a sign that the resting phase was skipped, or the pan temperature was too low, preventing the proteins from setting quickly enough.
- Lumpiness: If you lack a blender, never force the issue with a whisk. Strain the batter through a fine-mesh sieve. This simple step ensures a professional, lump-free consistency that is critical for delicate, paper-thin results.
The Implications: Beyond the Breakfast Plate
The rise in popularity of homemade crepes has significant implications for modern home dining. As food costs fluctuate and consumers look for ways to elevate simple ingredients, the crepe acts as a budget-friendly gourmet solution. A simple stack of crepes, when paired with inexpensive seasonal fruit, local honey, or even leftover savory roasted vegetables, becomes a meal that feels curated rather than thrown together.
Furthermore, the "Crepe Cake" phenomenon has introduced a new level of culinary theater to the home kitchen. By layering 20 to 30 crepes with pastry cream, one can create a dessert that rivals the complexity of a French pâtisserie cake. This highlights the ultimate implication of the dish: the crepe is a bridge between the humble pantry and the height of culinary sophistication.
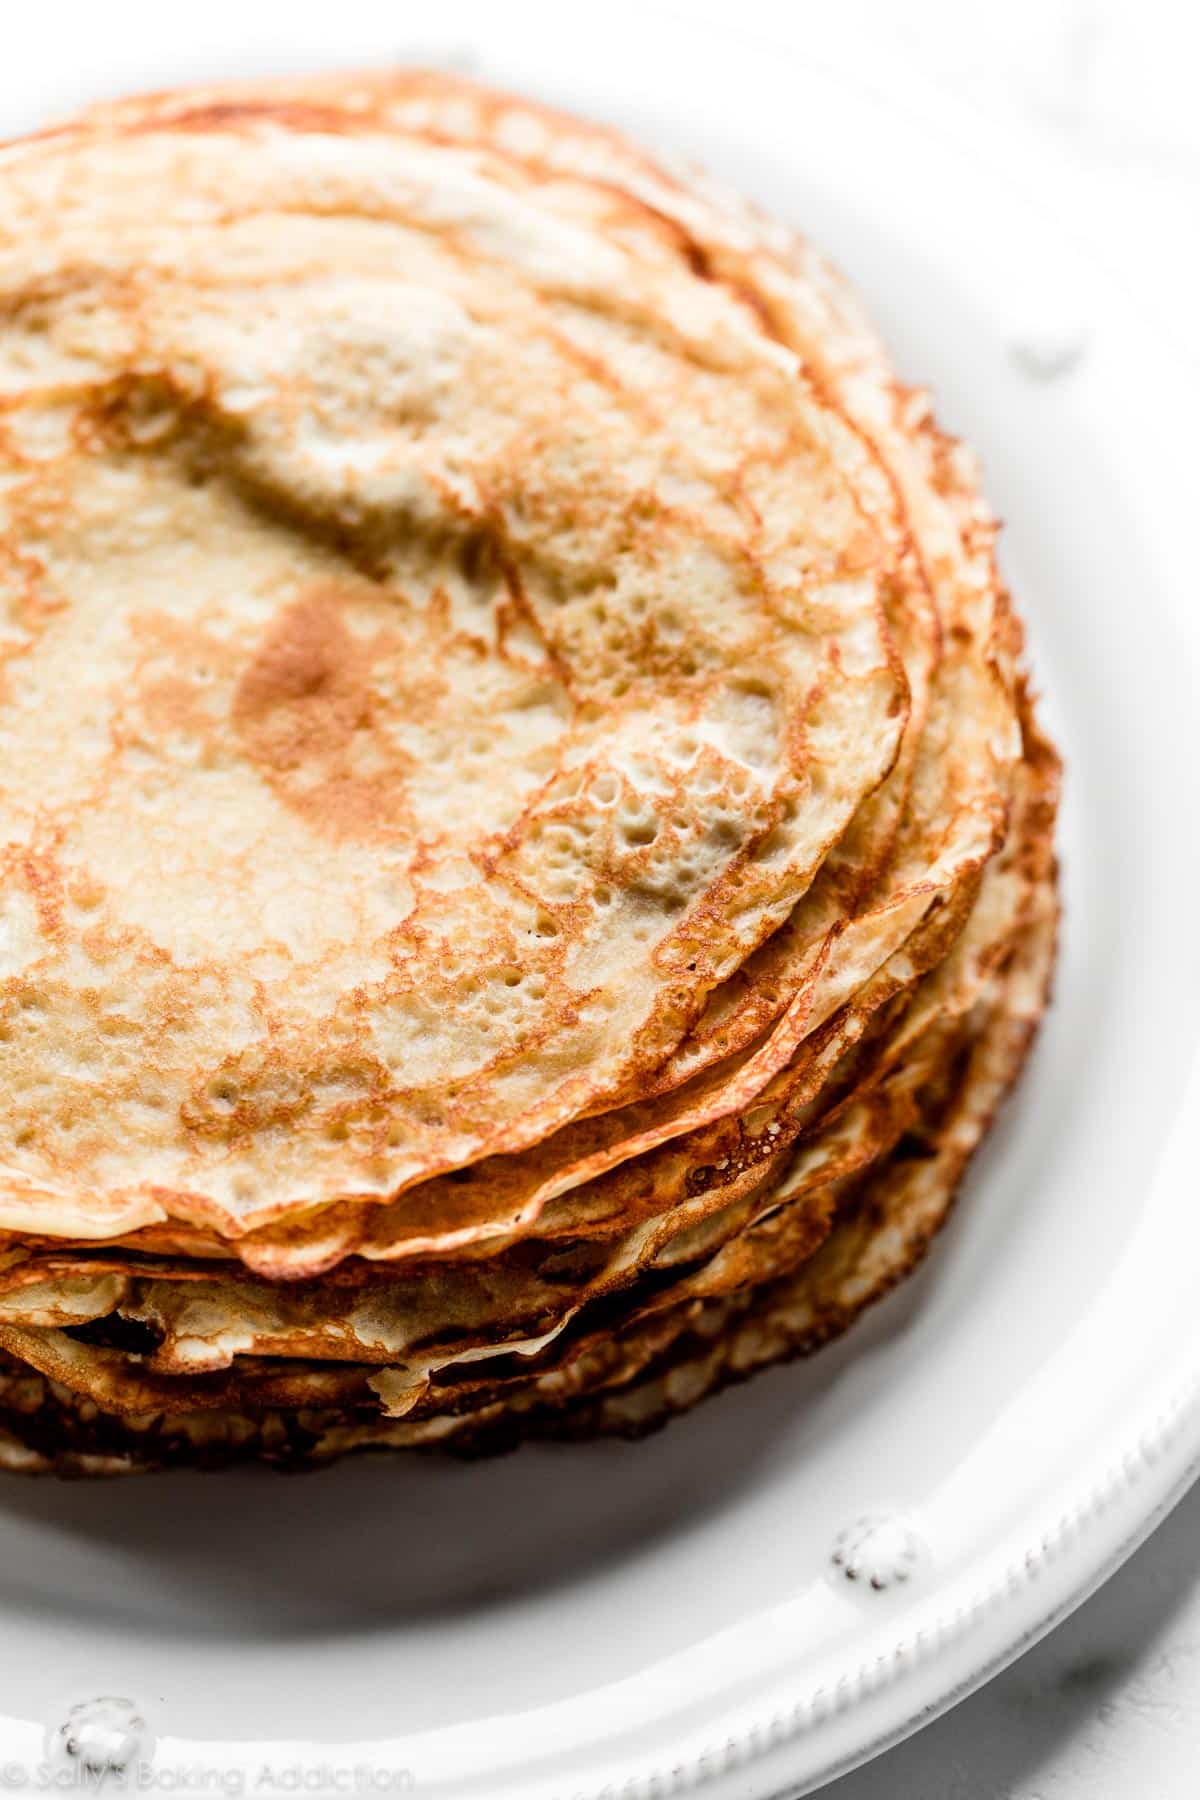
In conclusion, the art of the crepe is a testament to the idea that simplicity, when combined with proper technique, yields the most rewarding results. It is an invitation to slow down, practice a specific movement, and enjoy a dish that is as much about the process as it is about the final flavor. Whether you are folding a delicate dessert crepe with lemon and sugar or rolling a savory lunch filled with gruyère and mushrooms, you are participating in a tradition that celebrates the elegance of the everyday. With the right approach, the perfect crepe is no longer a luxury of the restaurant world—it is a staple of your own kitchen.


 Nana Muazin
 Evan Lee Salim