

 Dwi Wanna
 Nana Wu
 Muslim
 Reynand Wu
 Ammar Sabilarrohman
 Lina Hope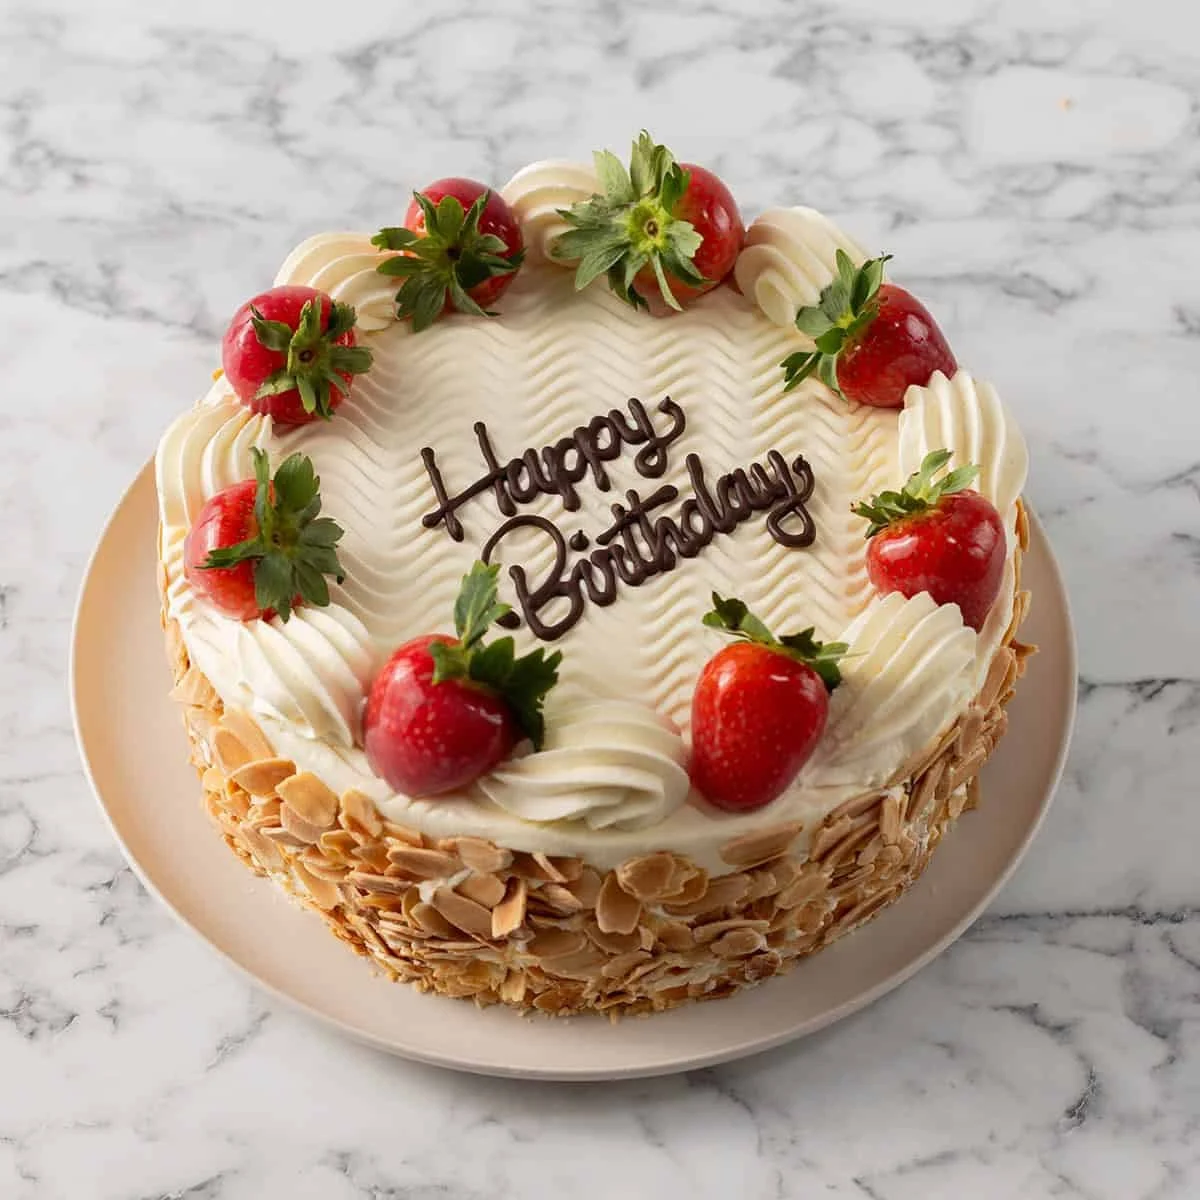
For many in the Australian culinary landscape, the Continental Cake—a traditional Italian rum cake—is more than just a dessert. It is a cultural institution, a staple of birthday celebrations, weddings, and family gatherings, particularly within the Greek and Italian communities in Melbourne and Sydney. Yet, for all its popularity, the quest to recreate the perfect bakery-style version at home has long been considered the "holy grail" of amateur baking.
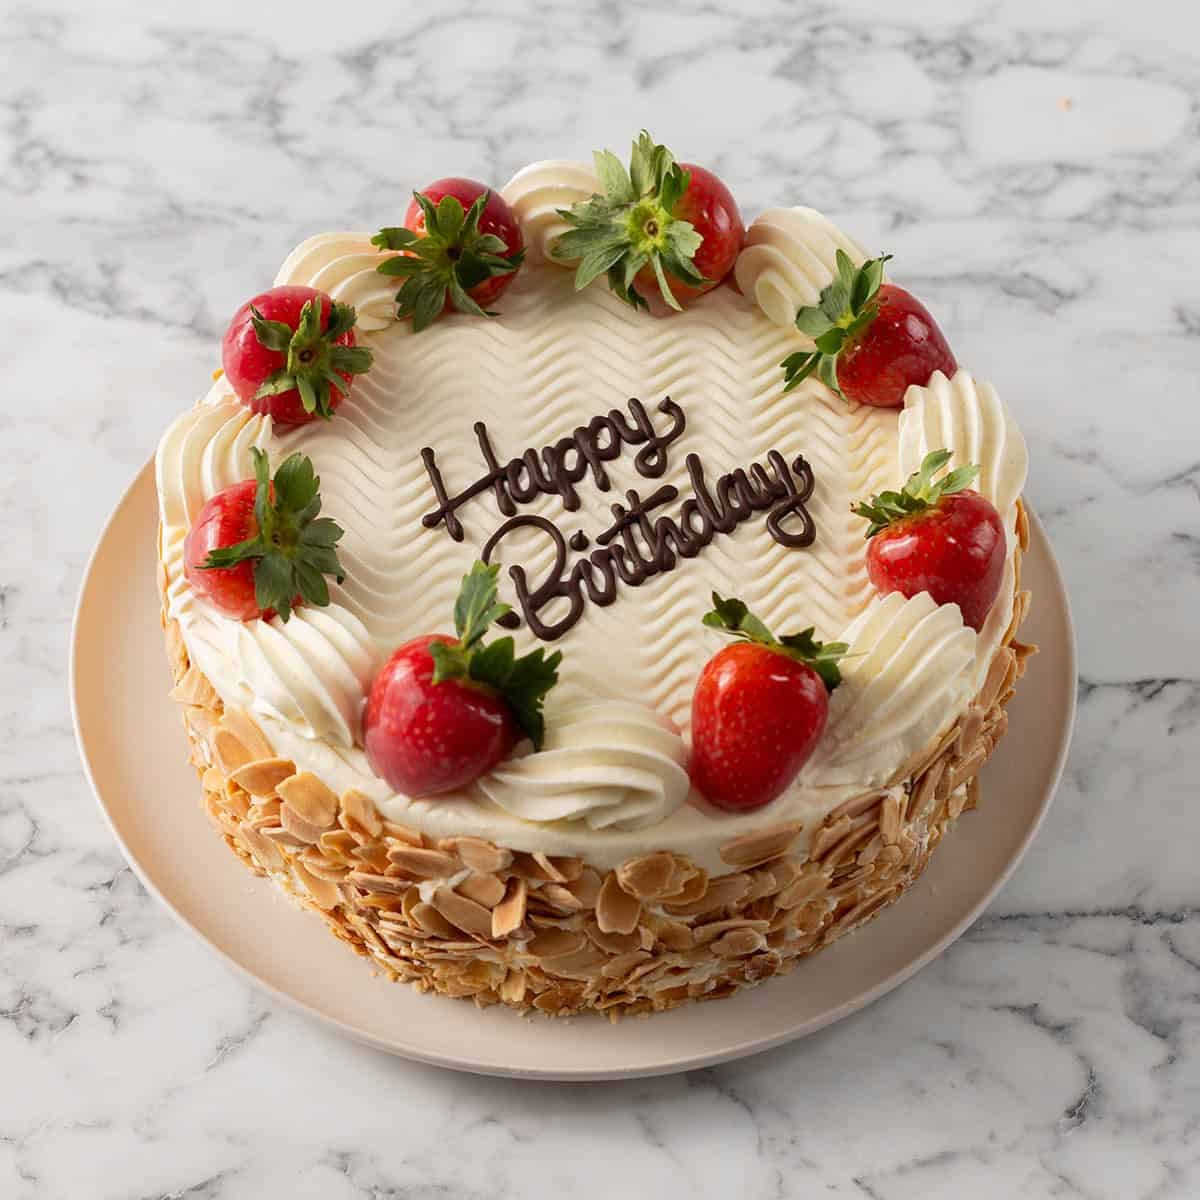
After two months of rigorous research and twenty-seven distinct test batches, professional baker Nick from The Scranline has cracked the code. By deconstructing the techniques used by professional pastry chefs and replacing industrial shortcuts with high-quality, stable ingredients, he has developed a recipe that arguably surpasses the commercial versions found in storefronts.
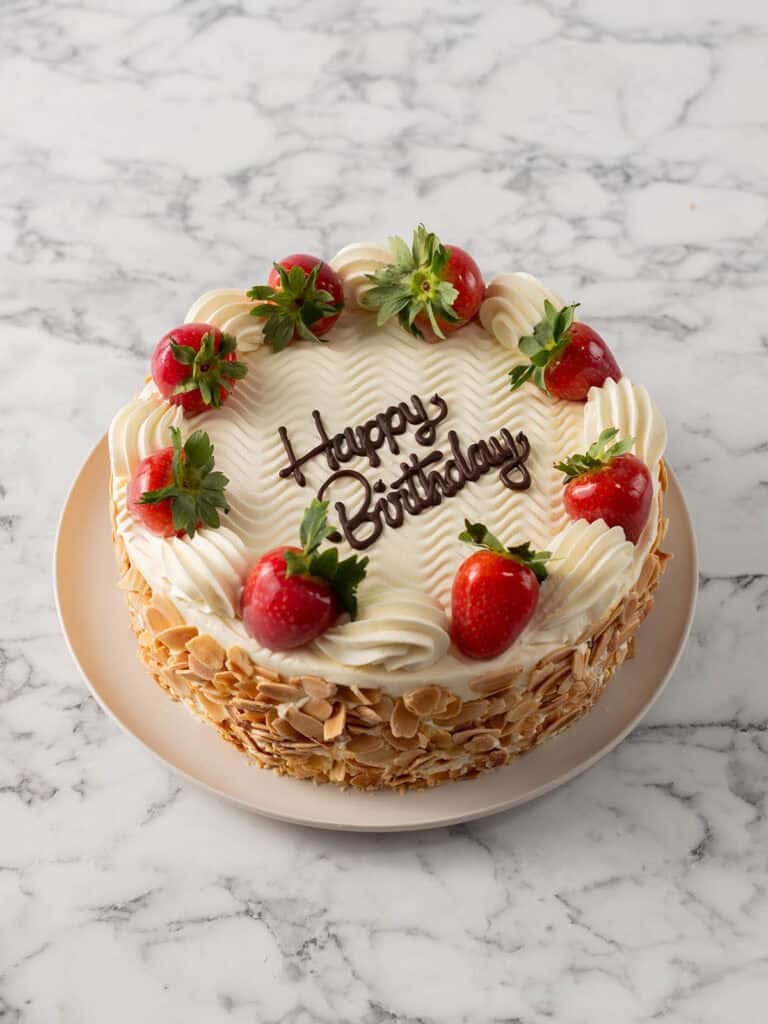
The Science of the Perfect Continental Cake
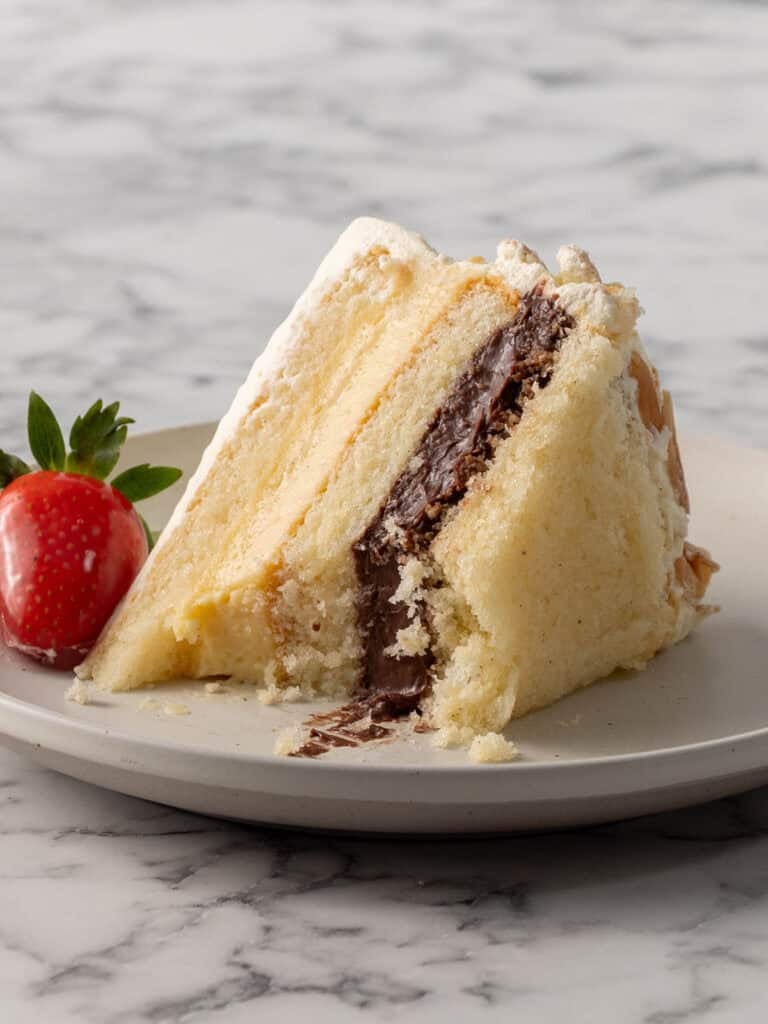
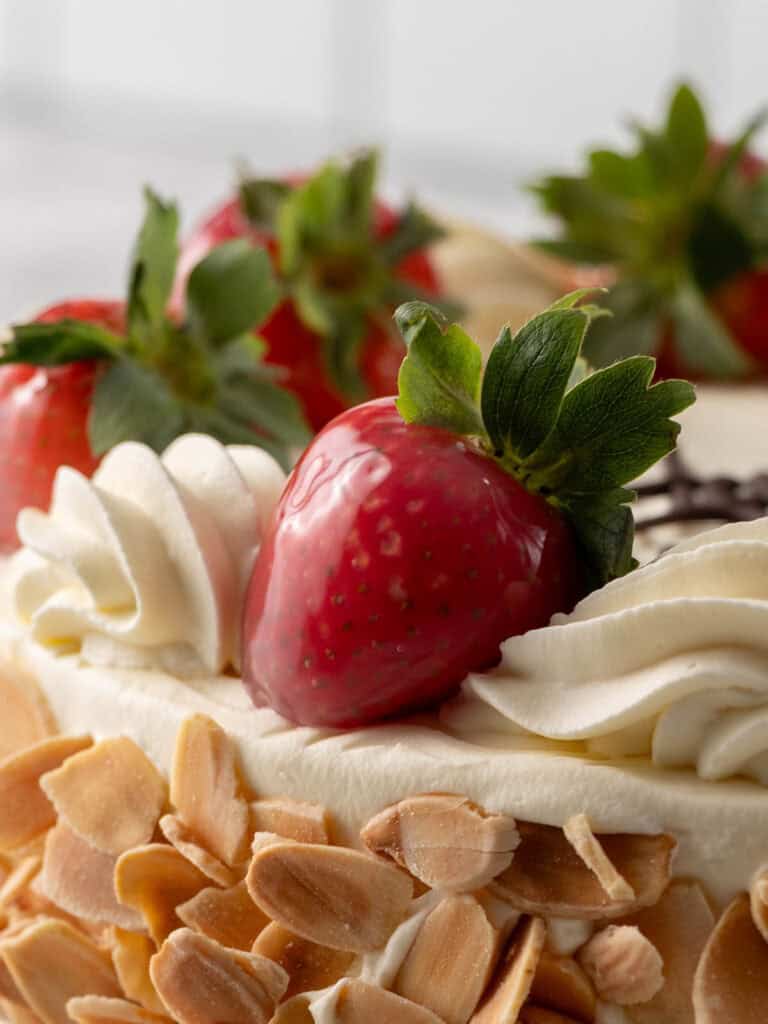
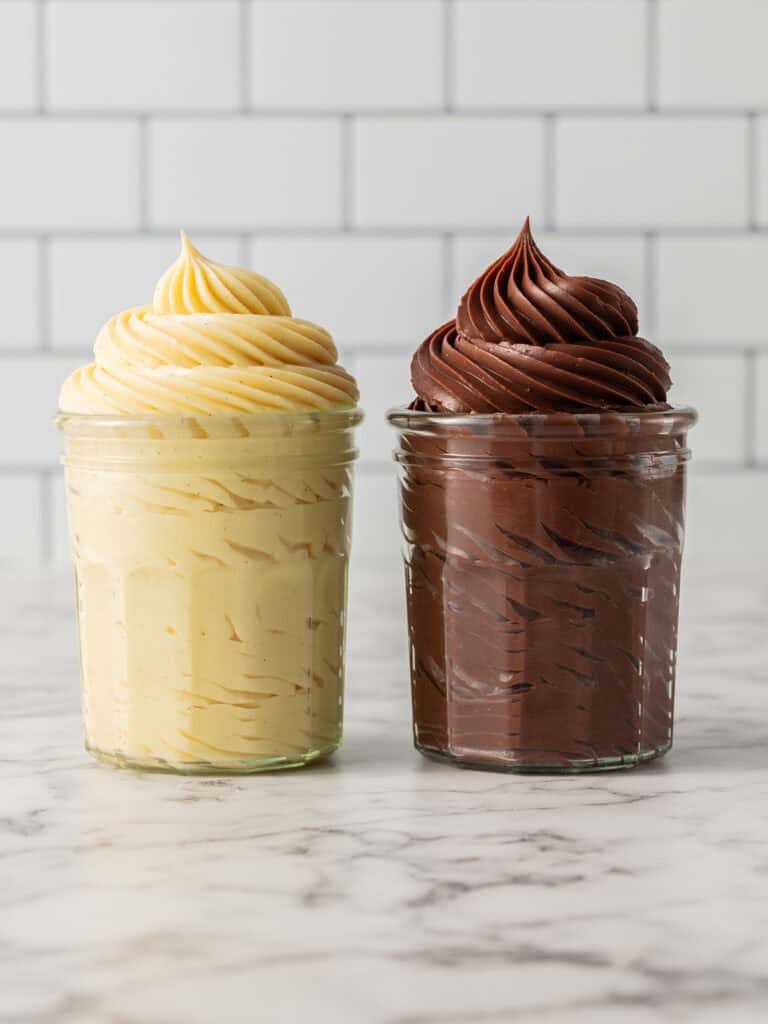
The primary challenge in creating a home-based Continental Cake lies in the balance of textures. A traditional bakery Continental Cake is defined by layers of incredibly soft, rum-soaked sponge, rich dual-custard fillings (vanilla and chocolate), and a stabilized cream finish.
Why Home Bakers Often Struggle
Commercial bakeries often rely on "mock cream"—a vegetable-fat-based shortening—to ensure their cakes remain stable at room temperature for extended periods. While this serves a functional purpose for retail, it sacrifices the luxurious, melt-in-the-mouth texture of real Chantilly cream. Furthermore, many home sponge recipes lack the structural integrity to hold a boozy syrup without becoming soggy, or they dry out too quickly.
The Chiffon Breakthrough
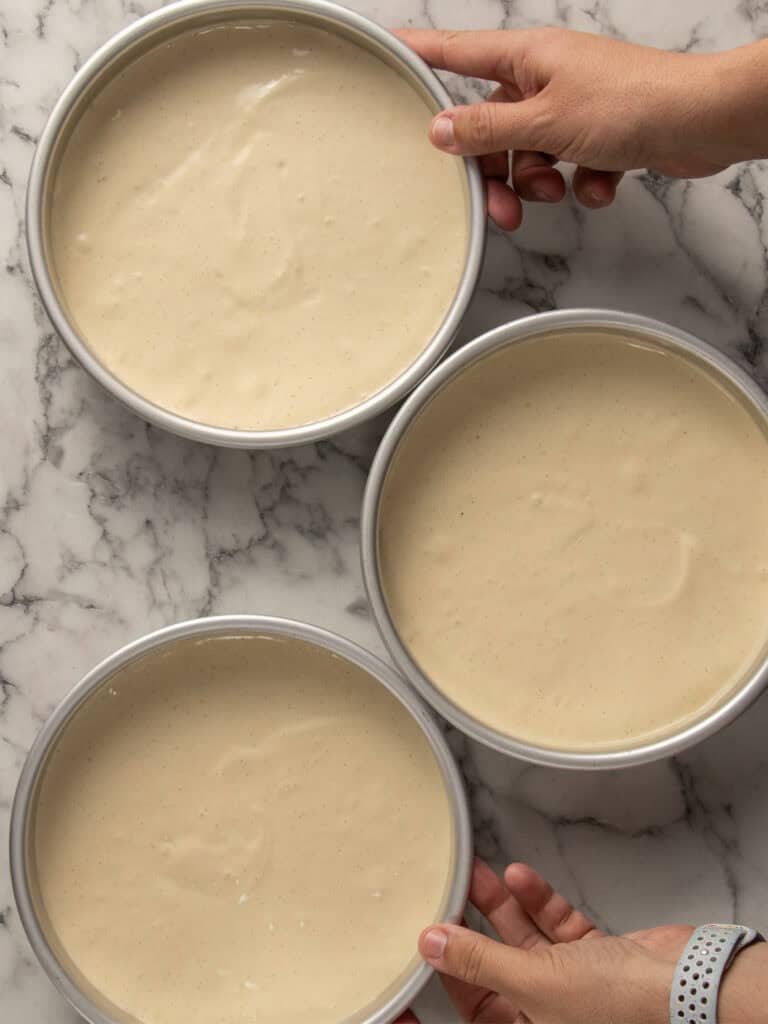
The secret, according to recent testing, is the use of a chiffon sponge. Unlike traditional sponge cakes, the chiffon base offers a "meaty" yet airy structure. It is moist enough to remain tender, yet stable enough to absorb significant amounts of rum-infused syrup without collapsing. This discovery was the turning point in the twenty-seven-test journey, proving that the foundation of the cake is the most critical element in achieving a professional result.
A Chronological Guide to Execution
To achieve a professional-grade finish, the process should not be rushed. Spreading the workload over two to three days is highly recommended to manage the various components of the cake.
Day 1: The Foundation
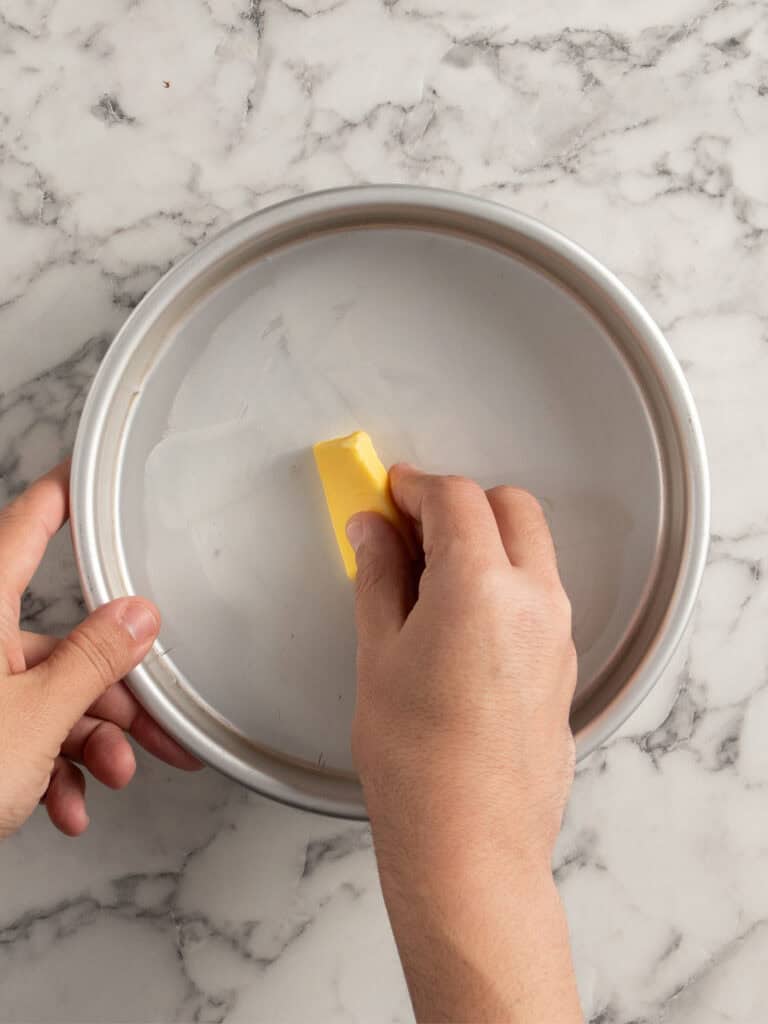
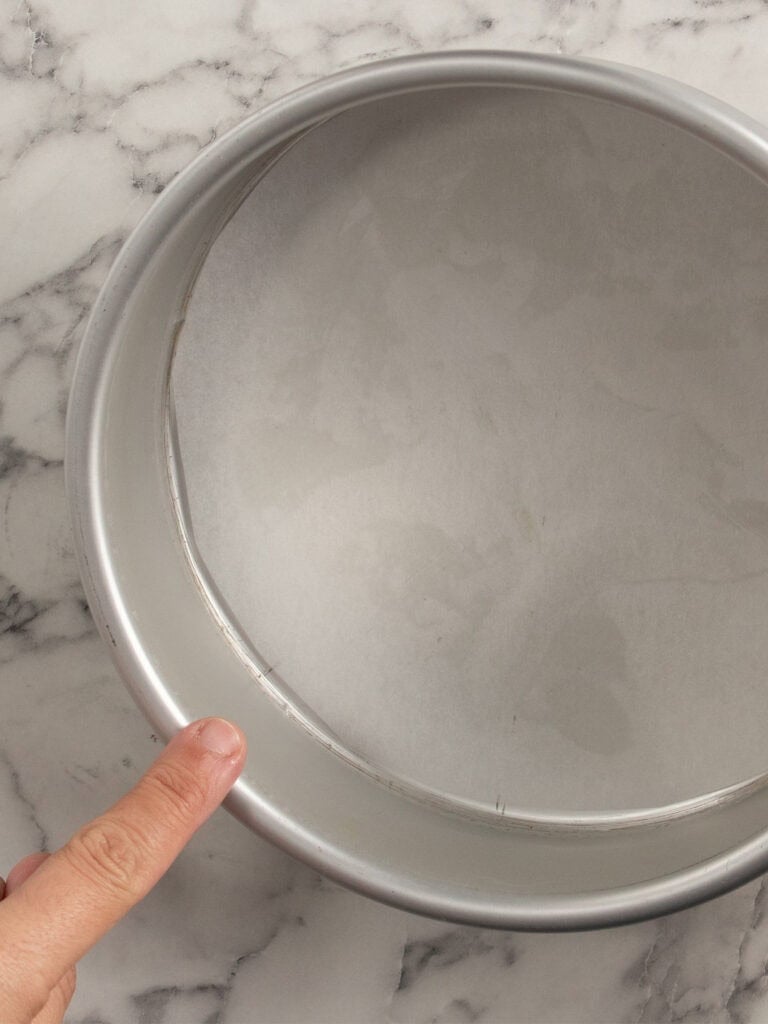
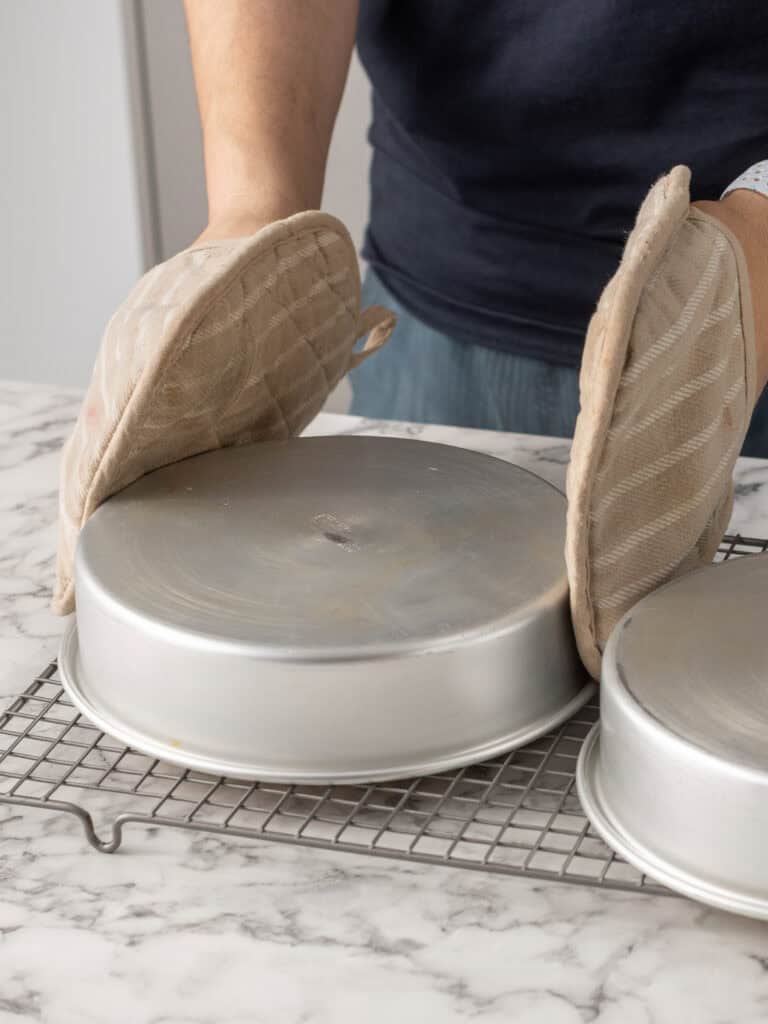
- The Sponge: Bake the chiffon layers. The key to a perfectly round, uniform cake is the preparation of the tins. Instead of non-stick oil sprays, which can cause the cake to pull away from the sides during cooling, rub cold butter only on the bottom of the tin and line with parchment paper. This allows the batter to cling to the sides of the pan as it rises, ensuring a straight, professional shape.
- The Custard: Prepare the French pastry cream. The secret to a lump-free custard is the use of a metal whisk rather than a silicone one, combined with a stainless-steel pot. The friction of the metal on the metal prevents lumps from forming. Whipping the custard with an electric hand mixer once cooled creates a silken, spreadable consistency perfect for layering.
Day 2: Assembly and Decoration
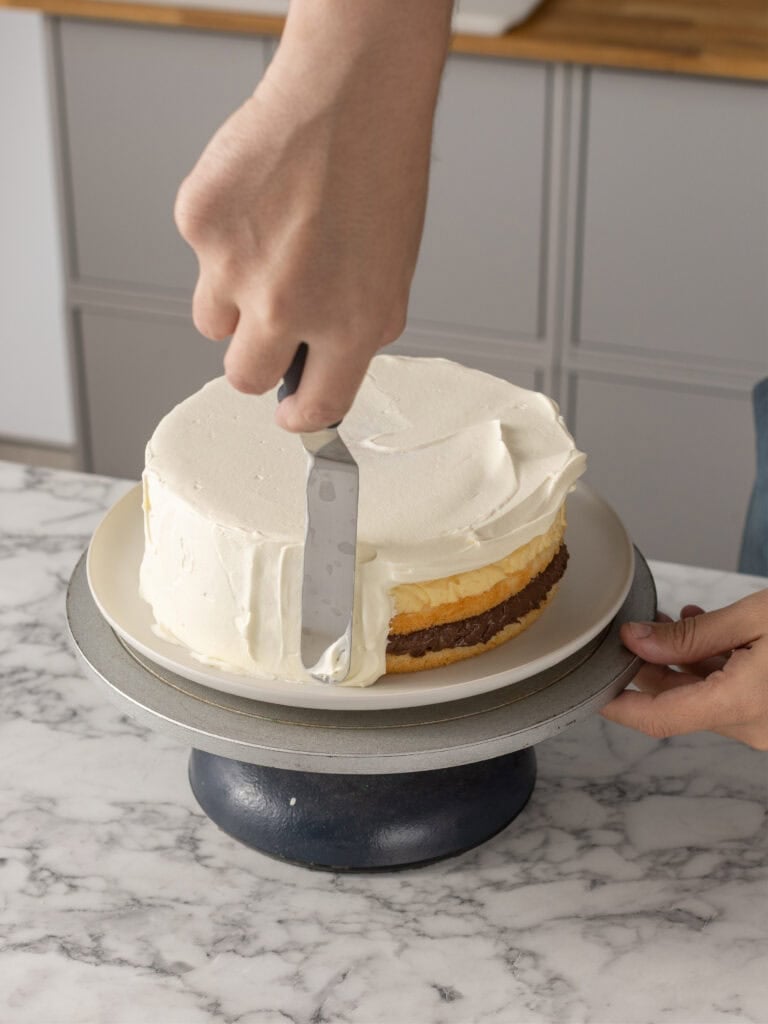
- The Layering: The cake must be assembled at least four hours before decoration, or ideally, allowed to set overnight. This allows the rum syrup to permeate the chiffon and the custard layers to firm up, creating a cohesive, easy-to-slice dessert.
- The Chantilly Finish: The cream is stabilized with mascarpone cheese. This addition is the professional’s secret to longevity; it provides a structural backbone to the whipped cream, ensuring it holds its shape in the refrigerator for days without weeping or losing its airy texture.
Supporting Data: Why Quality Ingredients Matter
The shift from professional bakery standards to home kitchens requires a shift in ingredient sourcing. The provided data highlights several key components for success:
- Corn Starch (Corn Flour): Essential for both the lightness of the sponge and the thickening of the custard and glazes.
- Dutch-Processed Cocoa: Unlike standard natural cocoa, Dutch-processed cocoa has been neutralized, providing a deeper color and a more robust chocolate flavor that stands up to the sweetness of the custard.
- Mascarpone: This Italian cheese is far superior to standard gelatin-based stabilizers. It adds a creamy mouthfeel while providing the necessary fat content to keep the whipped cream stable.
- Quality Vanilla: For applications involving whipped cream or meringues, alcohol-based vanilla extracts can disrupt the air bubbles. Using a syrup-based vanilla bean paste ensures the flavor is consistent without compromising the stability of the cream.
Professional Tips for the Home Baker
The Art of the Strawberry Glaze
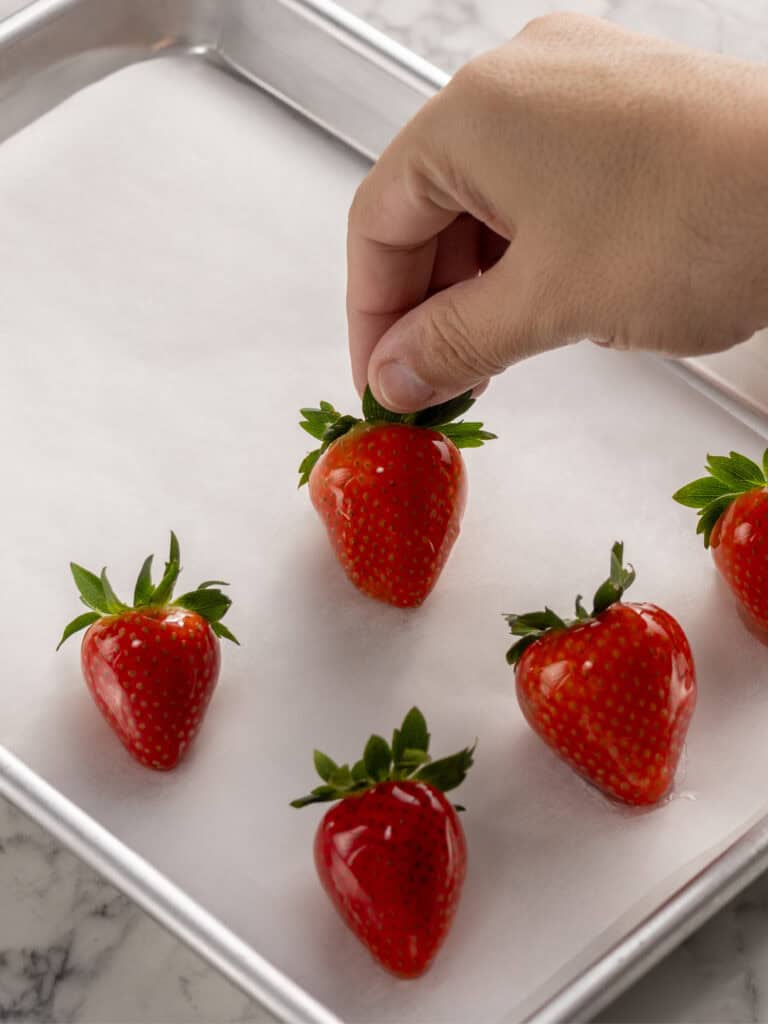
While the glaze is optional, it is the primary factor that elevates a cake from "homemade" to "bakery-worthy." The glaze should be prepared immediately before use; attempting to make it in advance often results in a lumpy, unusable texture. A touch of red food coloring (liquid, not gel) can be used to brighten the glaze, ensuring the strawberries maintain a vibrant, fresh appearance against the white backdrop of the Chantilly cream.
Piping and Presentation
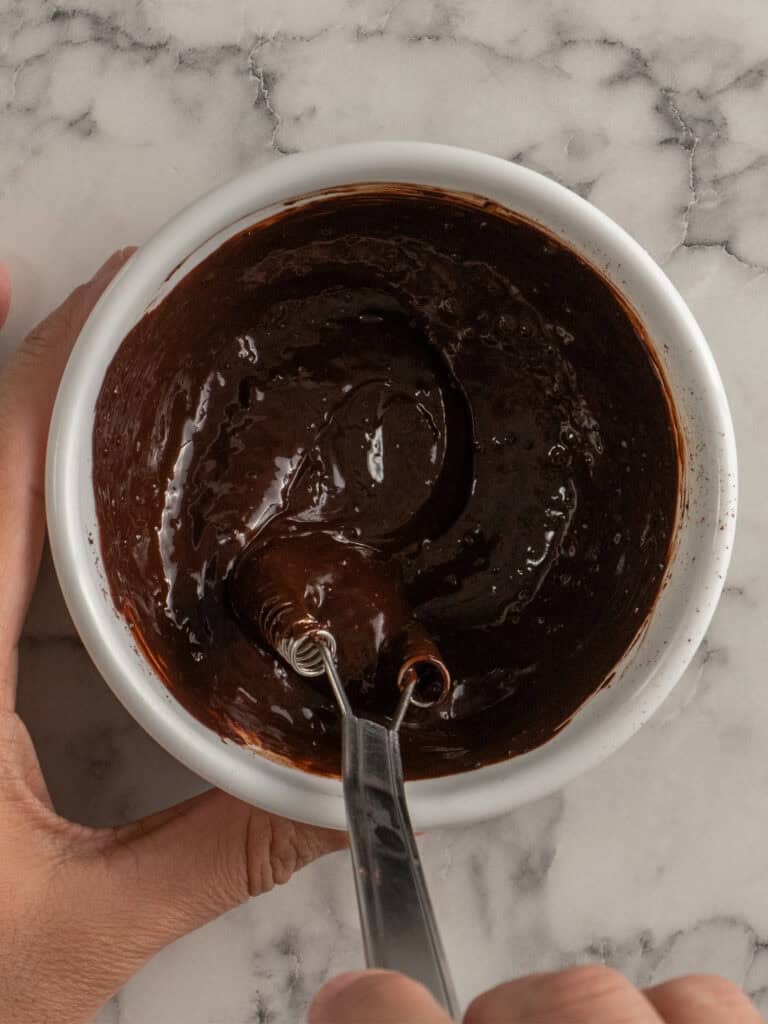
For those looking to add a personal touch, melted dark chocolate piped onto parchment paper using a template is a clean, elegant alternative to commercial gel piping. If you are a novice at piping messages, printing a template and placing it underneath your parchment paper acts as a perfect guide for a steady hand.
Implications: The "Wog Birthday" Standard
There is a social element to this recipe that cannot be overlooked. In communities where the Continental Cake is a staple of milestone celebrations, the ability to produce one from scratch carries significant social capital. As the saying goes, "a wog never forgets." Serving a cake that stands up to the scrutiny of a traditional family gathering is the ultimate test for any baker.
By mastering the chiffon sponge, the French pastry cream, and the stabilized Chantilly finish, home bakers are not just saving money—they are preserving a tradition. The ability to control the quality of ingredients, from the freshness of the strawberries to the quality of the chocolate, means the end result is cleaner, fresher, and more flavorful than any mass-produced alternative.
Final Storage and Serving Advice
This cake is designed to be served chilled. Because of the fresh ingredients, it is recommended to decorate no more than one day before serving. The cake can be kept in an airtight container in the refrigerator for up to three days. However, the integrity of the strawberry glaze is best within the first few hours; beyond that, the glaze may begin to turn a milky white color, signaling that it is time to serve.
By following these professional techniques and honoring the two-day preparation process, any home cook can successfully recreate this iconic dessert. It is a labor of love, but as the twenty-seven failed tests prove, the reward of that first, perfect, rum-soaked bite is worth every second of the effort.


 Azzam Bilal Chamdy
 Sagoh
Sagoh