

 Nana Wu

 Dwi Wanna

 Suro Senen

 Evan Lee Salim

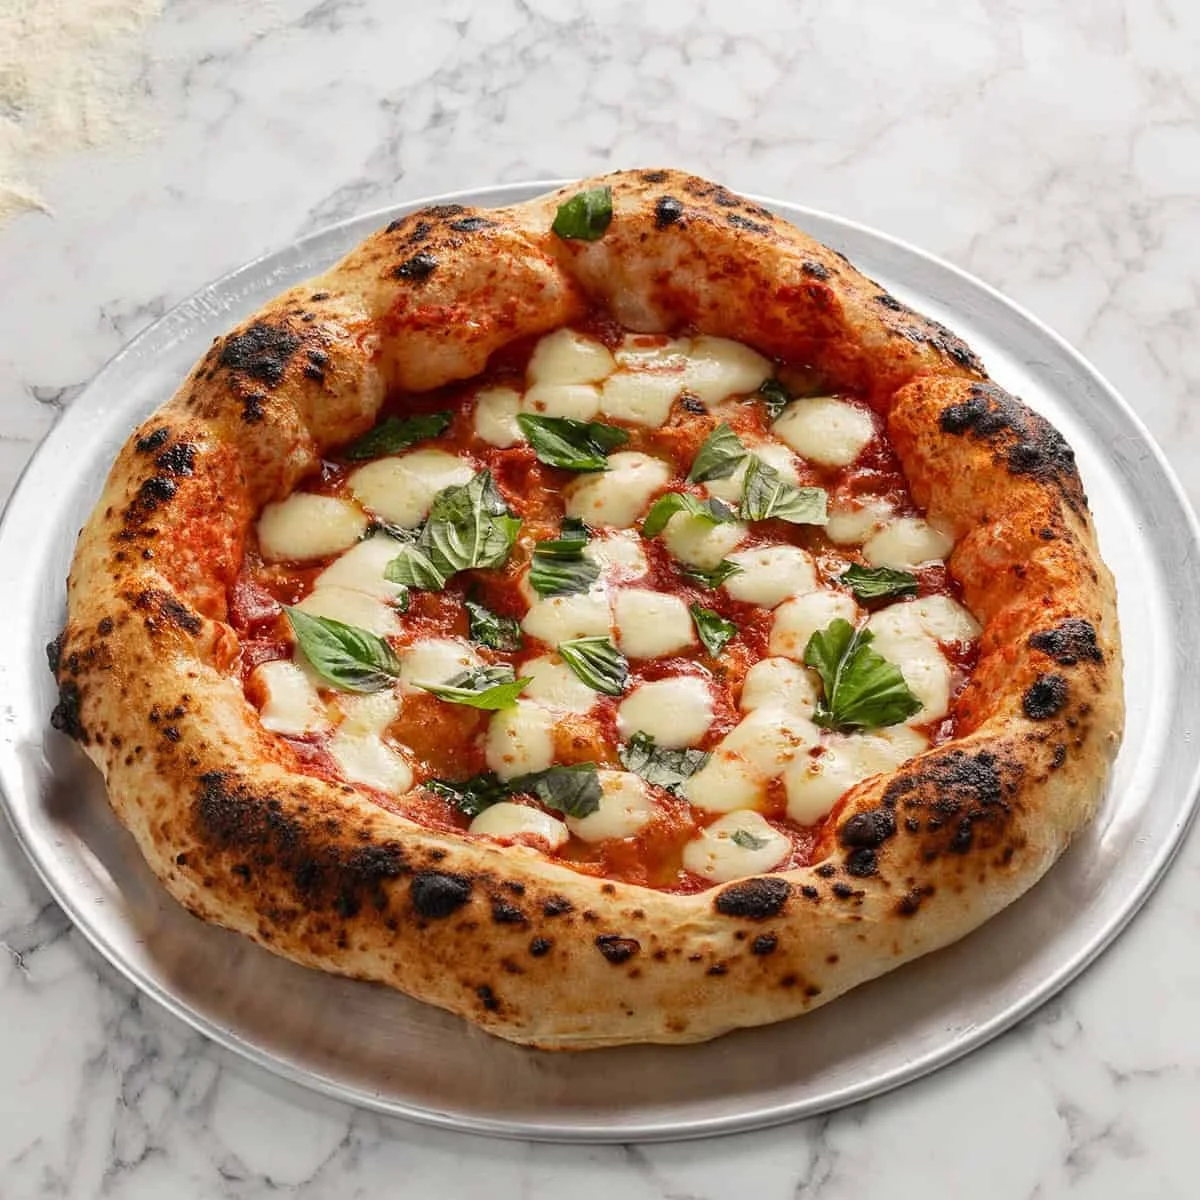
For many home cooks, the pursuit of the perfect Neapolitan-style pizza—characterized by its signature pillowy, charred, and bubbly crust—is the ultimate culinary challenge. While the allure of a restaurant-quality pie often seems reserved for those with professional wood-fired ovens and years of apprenticeship in Naples, the reality is far more accessible. With the right technique, patience, and attention to detail, achieving a "jaw-dropping" Neapolitan pizza in your own kitchen is entirely possible.
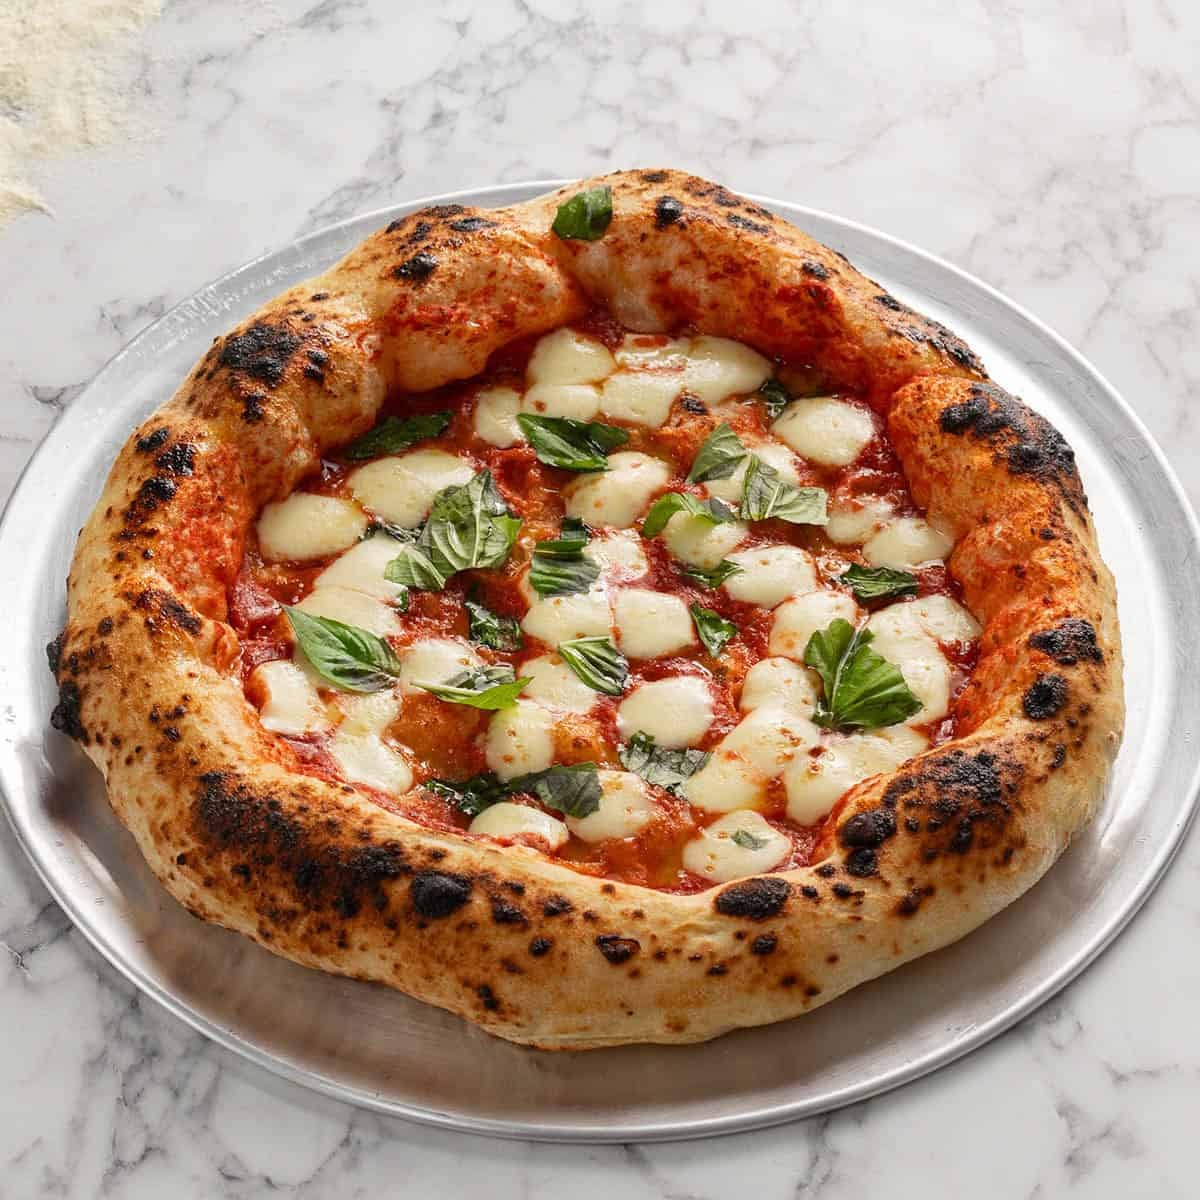
In this deep dive, we explore the methodology behind the perfect dough, a recipe refined over a year of rigorous testing by professional pastry chef and home-baking enthusiast, Nick Makrides. This guide walks you through the science of fermentation, the importance of high-quality ingredients, and the professional-grade workflow that transforms humble flour, water, and yeast into a masterpiece.
The Foundation: Why Ingredients and Time Matter
The hallmark of a great Neapolitan pizza is its simplicity, but that simplicity demands perfection in the base components. There is one non-negotiable ingredient that stands above all others: the flour.
After extensive testing with plain flour, standard bread flour, and various "00" market options, the conclusion is clear: the flour used must have a high gluten percentage. The proteins in the flour are the structural backbone of the pizza, allowing the dough to stretch without tearing and hold the gases that create those iconic bubbles. For this recipe, a "00" flour specifically designed for slow-fermented pizza—such as the industry-standard Caputo "00" Pizzeria Flour—is highly recommended.
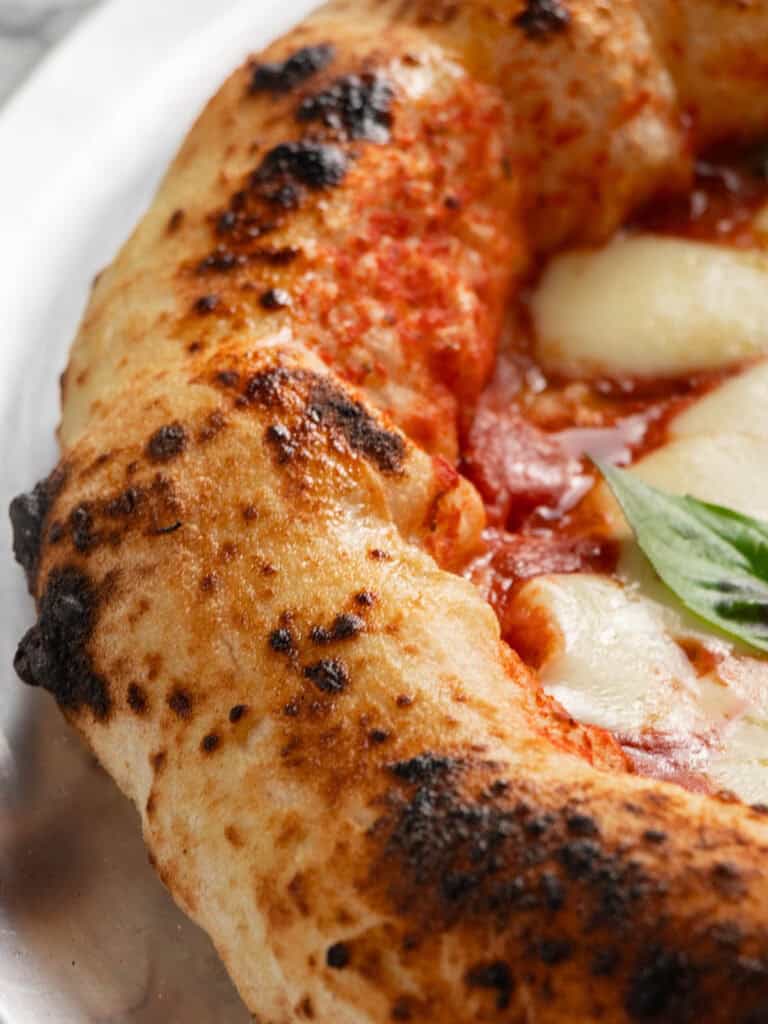
Beyond the flour, the secret lies in the clock. This recipe utilizes the poolish method, a pre-fermented paste that jumpstarts flavor development and texture. This process requires a 2- to 5-day "hands-off" period in the refrigerator. While modern life often demands instant results, this slow fermentation is non-negotiable for those seeking a deep, complex flavor profile and the airy, chewy texture of a true Neapolitan crust. As any veteran pizza chef will confirm, good pizza is not a fast food; it is a labor of time.
Chronology: The Professional Workflow
To replicate a pizzeria-grade pizza, one must adopt a professional, organized workflow.
1. The Poolish (The 24-Hour Foundation)
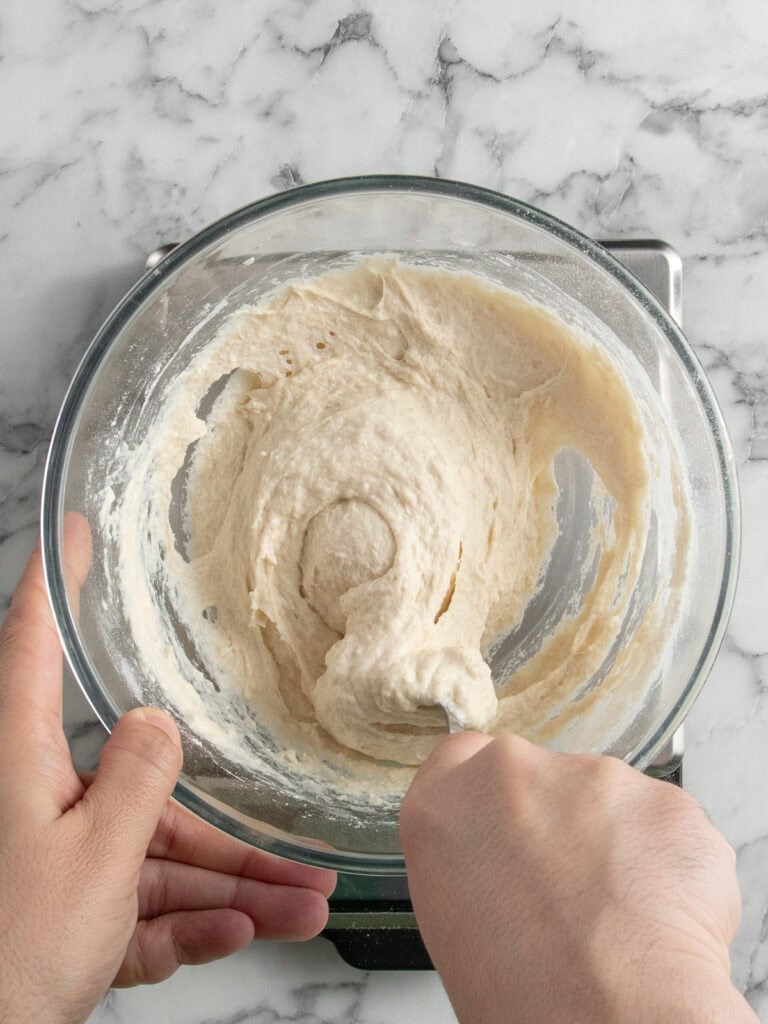
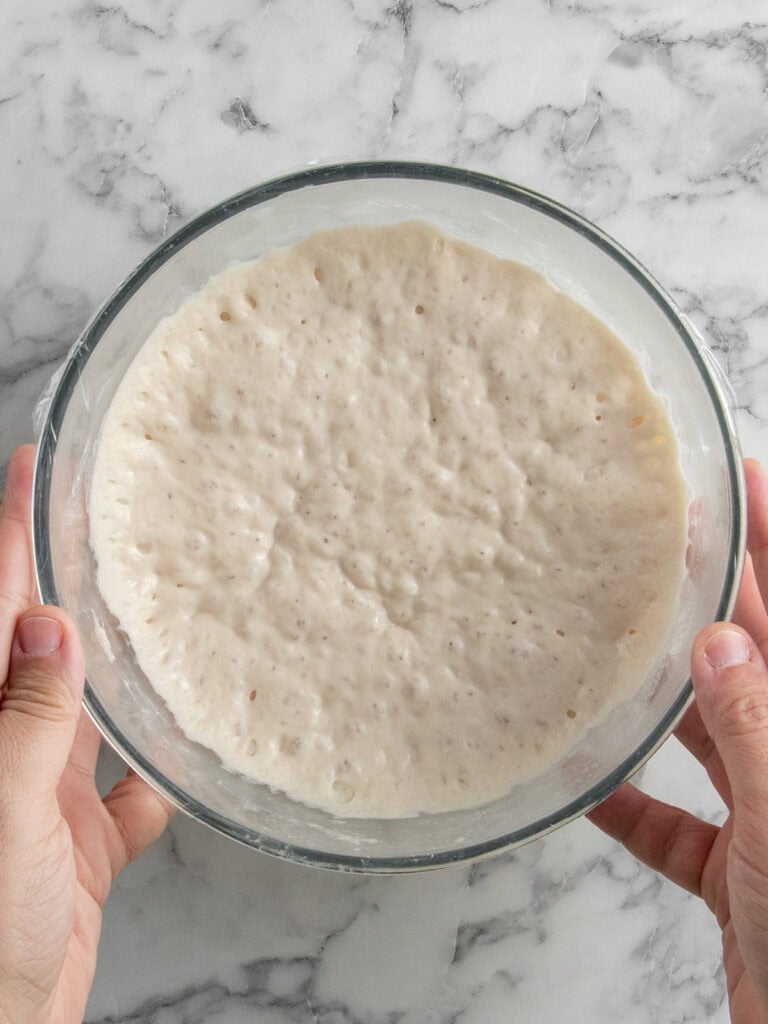
The poolish acts as the soul of your pizza. By mixing equal parts flour and water with a small amount of yeast and honey—the latter of which provides superior flavor compared to standard sugar—you create a pre-ferment. After 24 hours of resting, this mixture develops the characteristic acidity and aromatic complexity that defines high-quality dough.
2. Kneading and Gluten Development
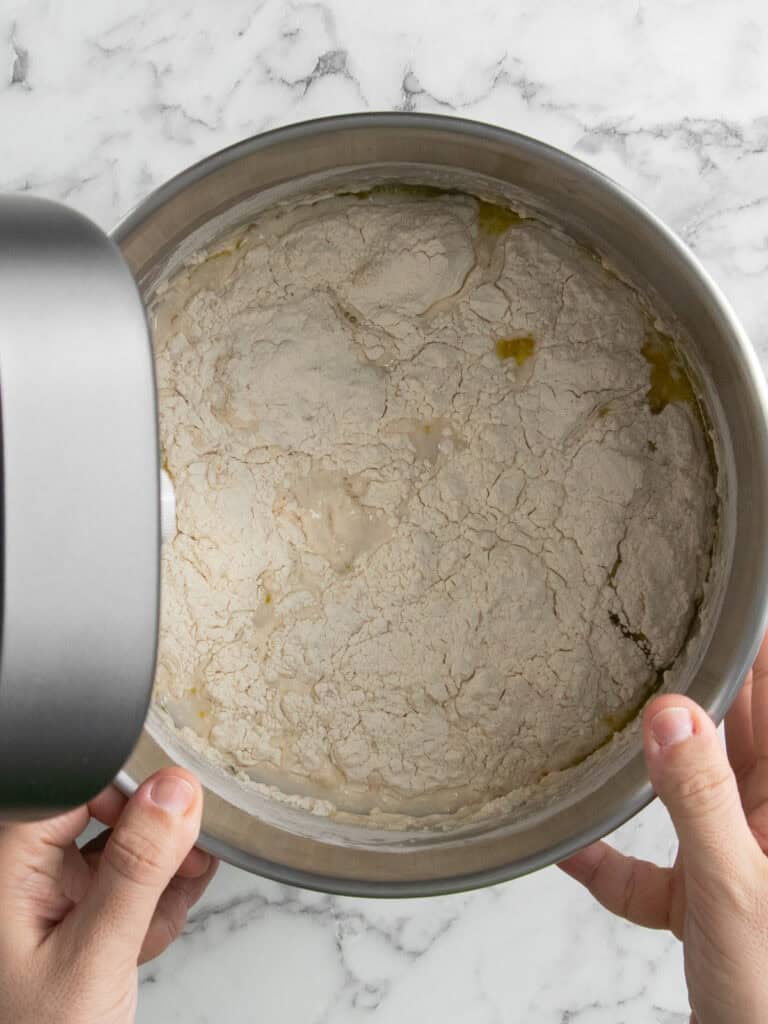
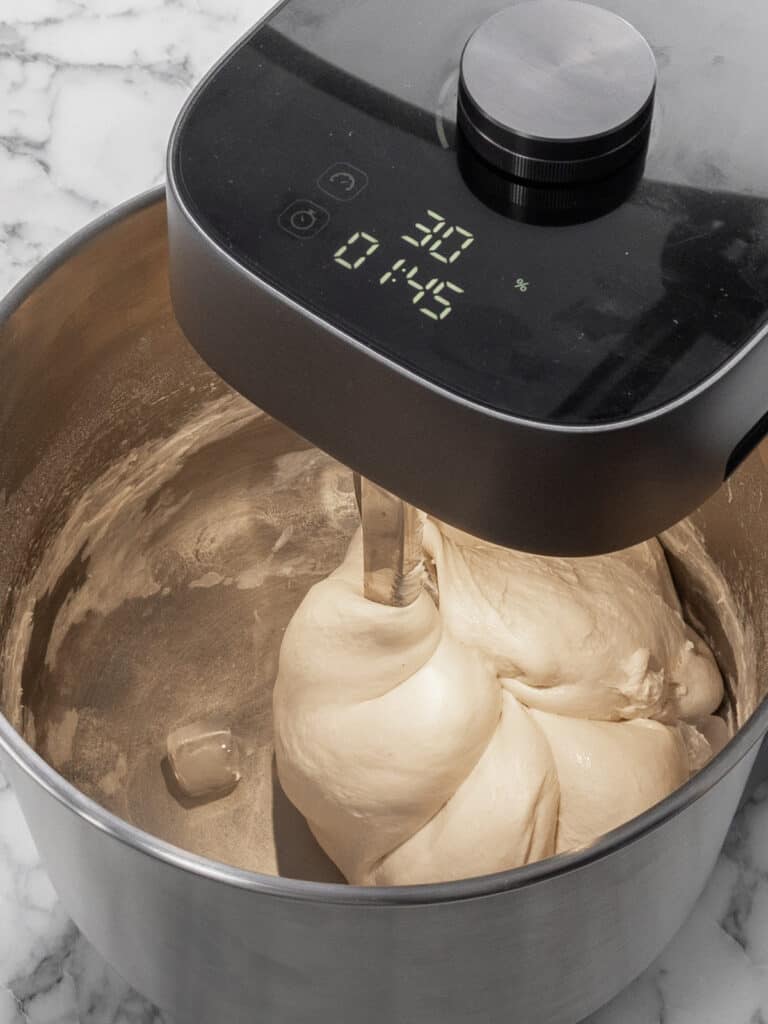
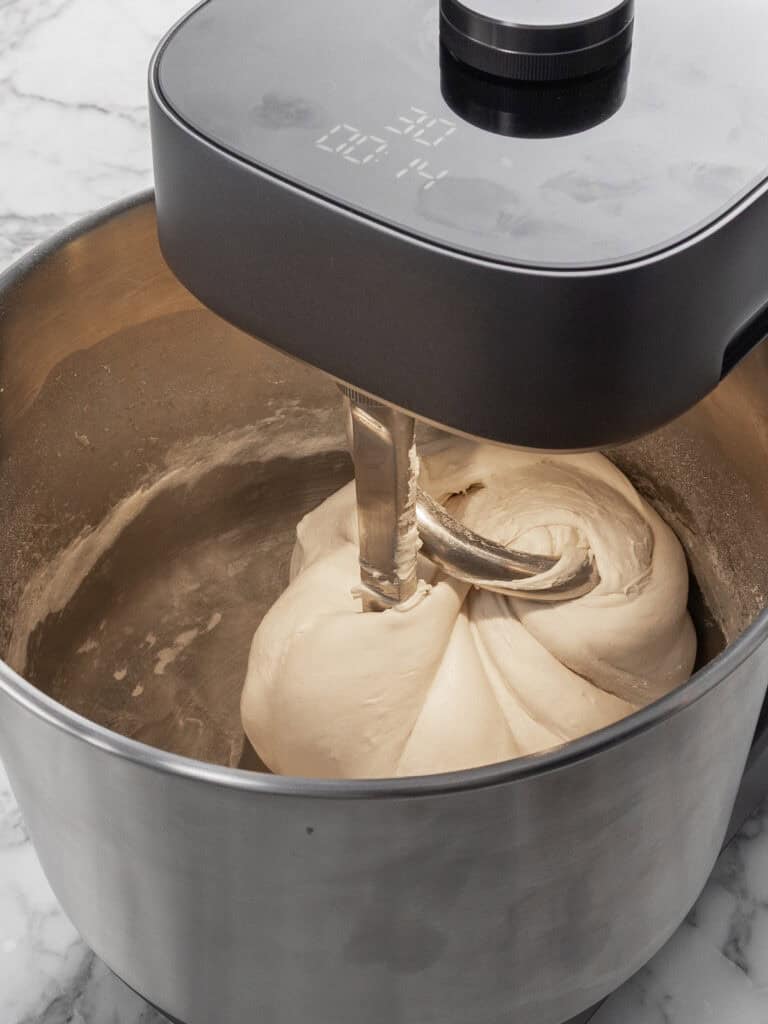
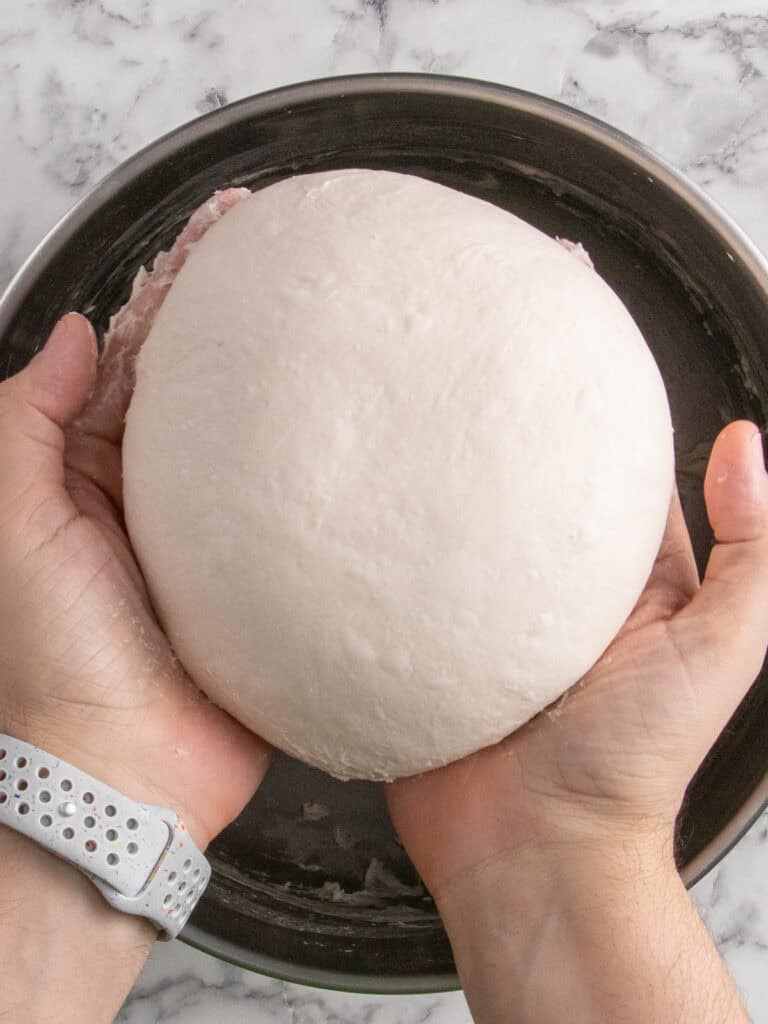
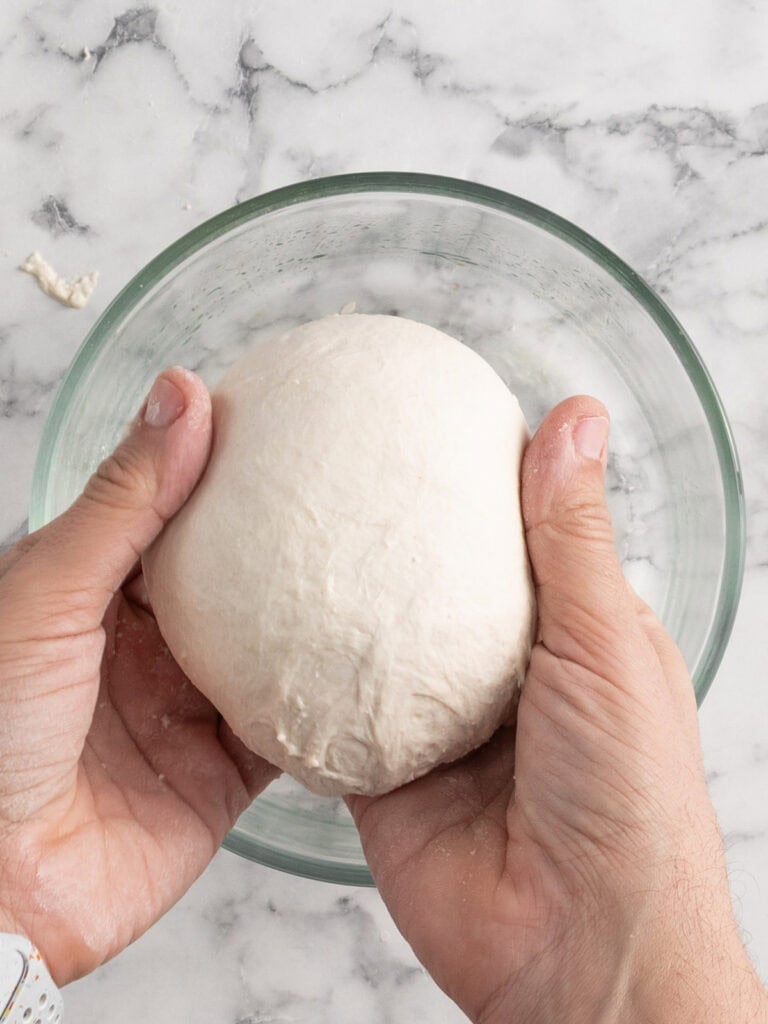
Kneading is the physical act of organizing the proteins in your dough. Using a stand mixer, such as a Kenwood Chef Sense or the Ooni Halo Pro, provides the consistency required. Whether you are using a commercial-grade mixer or a standard home model, the goal is the same: to reach a smooth, elastic texture.
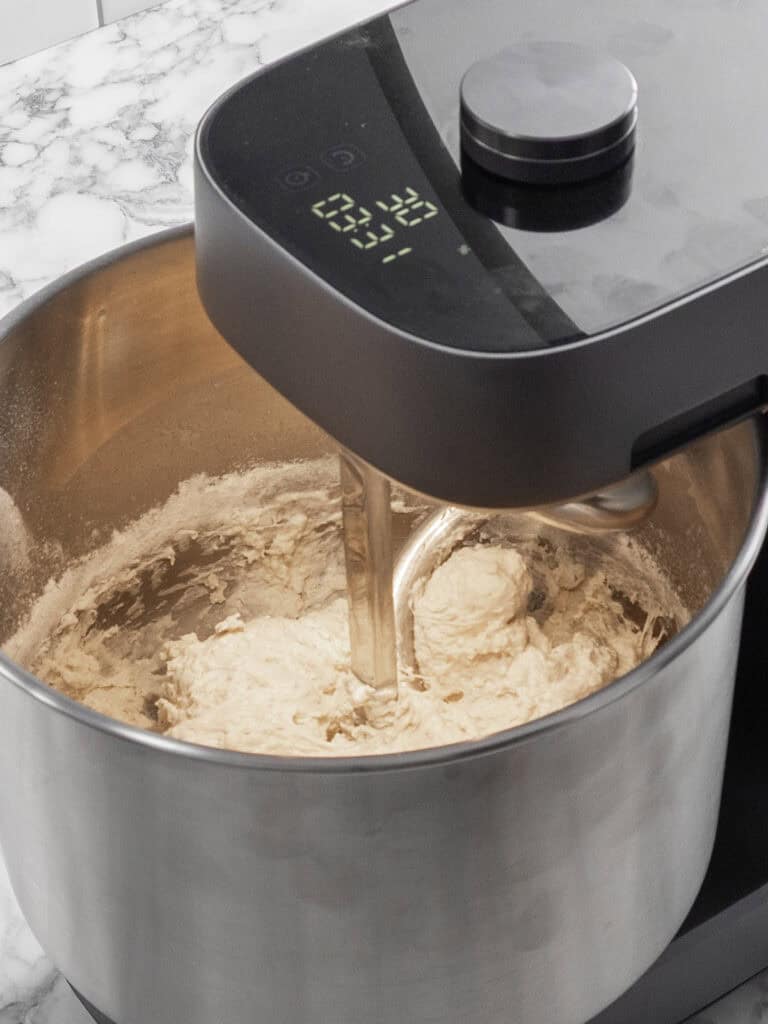
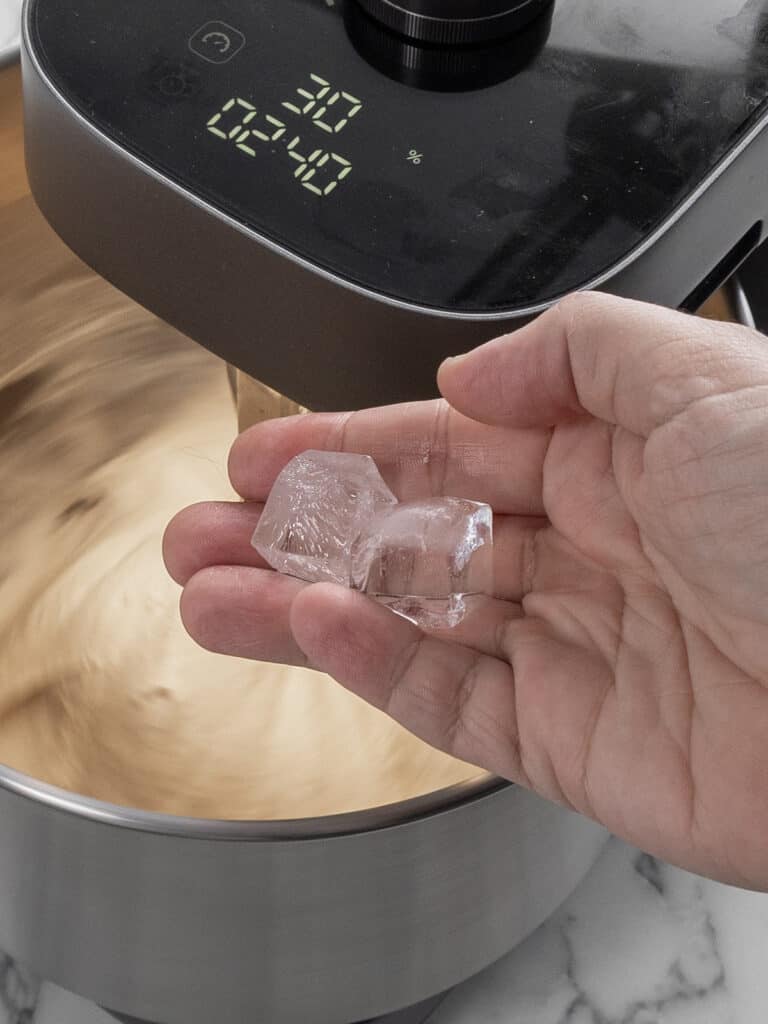
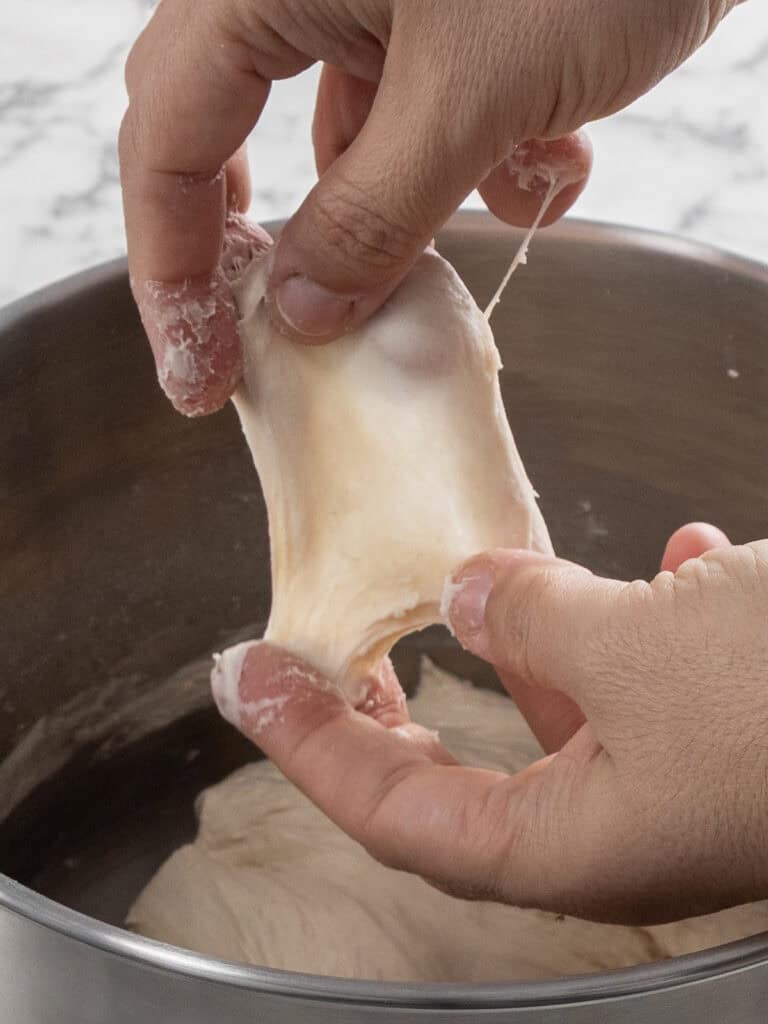
During the process, it is essential to monitor the temperature. Adding ice cubes to the dough during the mixing process can prevent the friction of the dough hook from overheating the mixture, which would prematurely exhaust the yeast. To determine if the dough is ready, utilize the "windowpane test." Gently stretch a small piece of dough between your fingers; if it becomes thin enough to allow light to pass through without tearing, the gluten network is sufficiently developed.
3. The Slow Fermentation (1-3 Days)
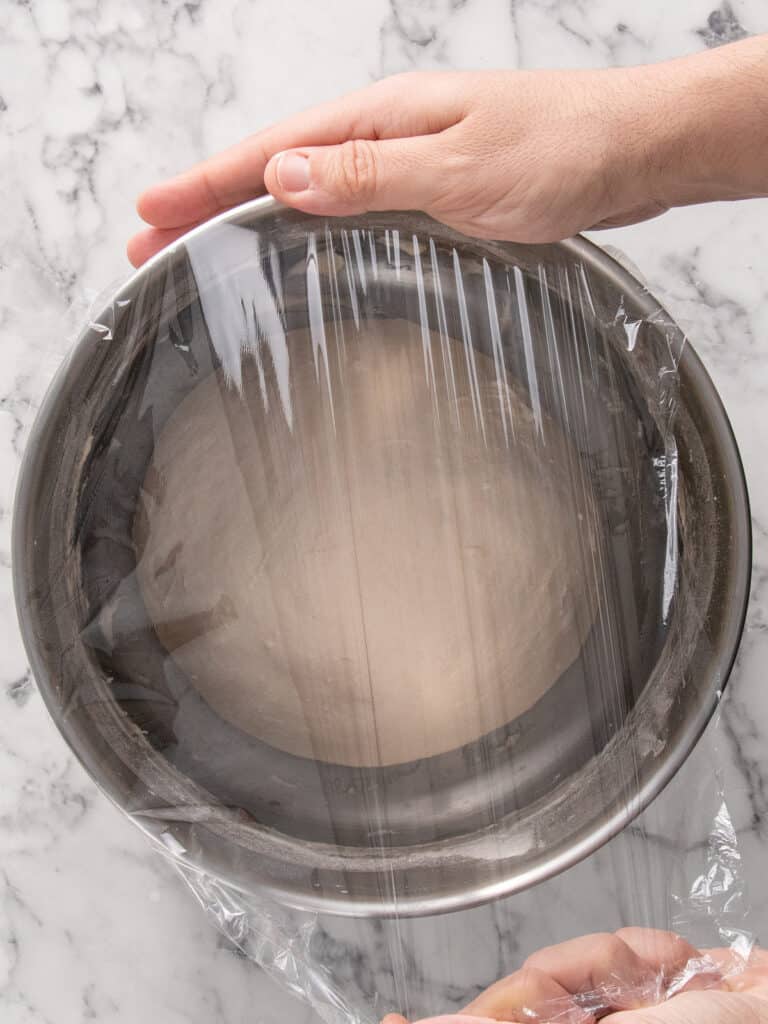
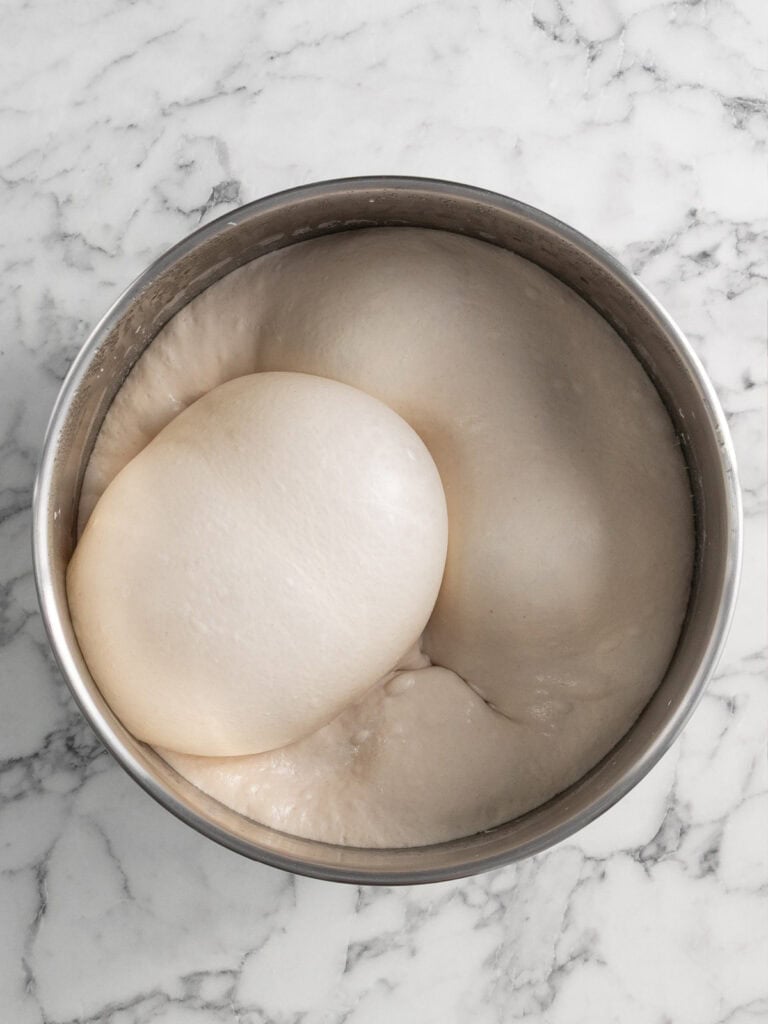
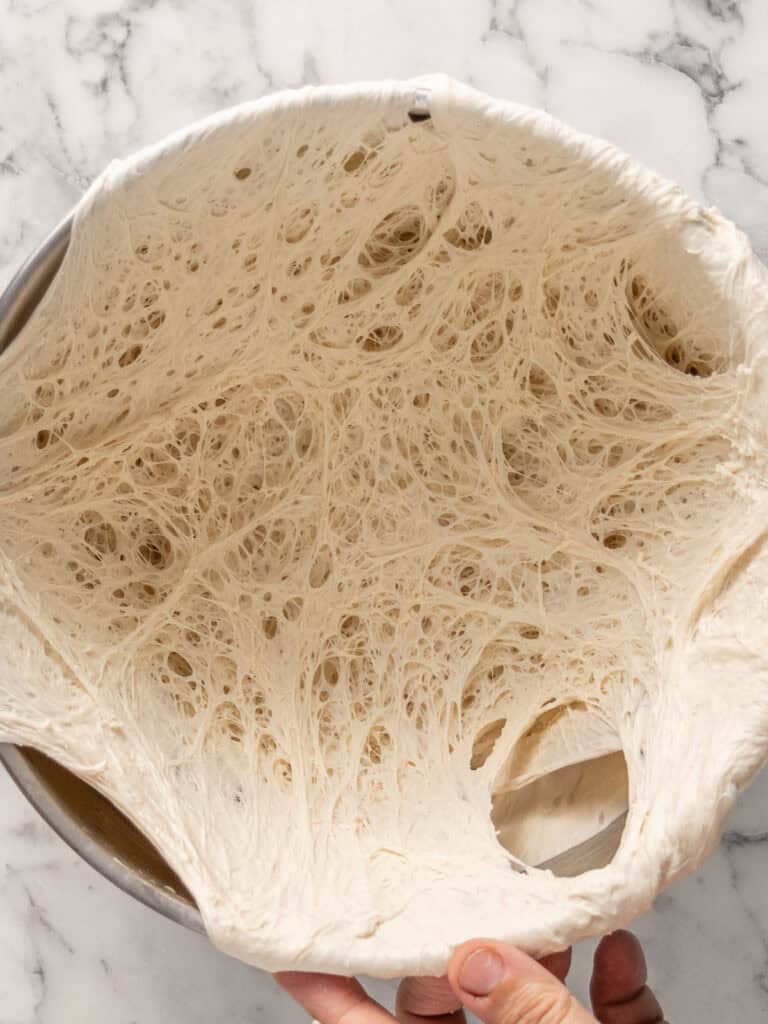
Once the dough is kneaded, it is transferred to a large bowl, covered tightly with plastic wrap, and placed in the refrigerator. This period is where the "magic" happens. During these 1 to 3 days, the enzymes break down the starches into sugars, and the yeast slowly produces carbon dioxide, resulting in the web-like gluten structure that ensures a light, airy, and flavorful final product.
4. Portioning and Final Proof
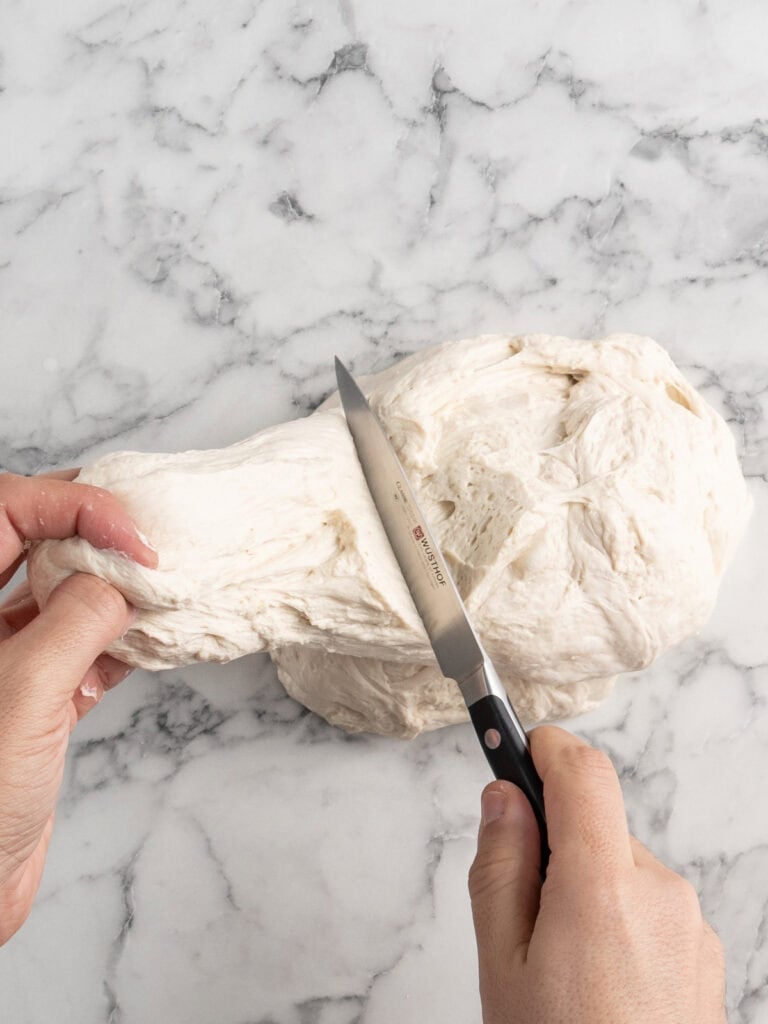
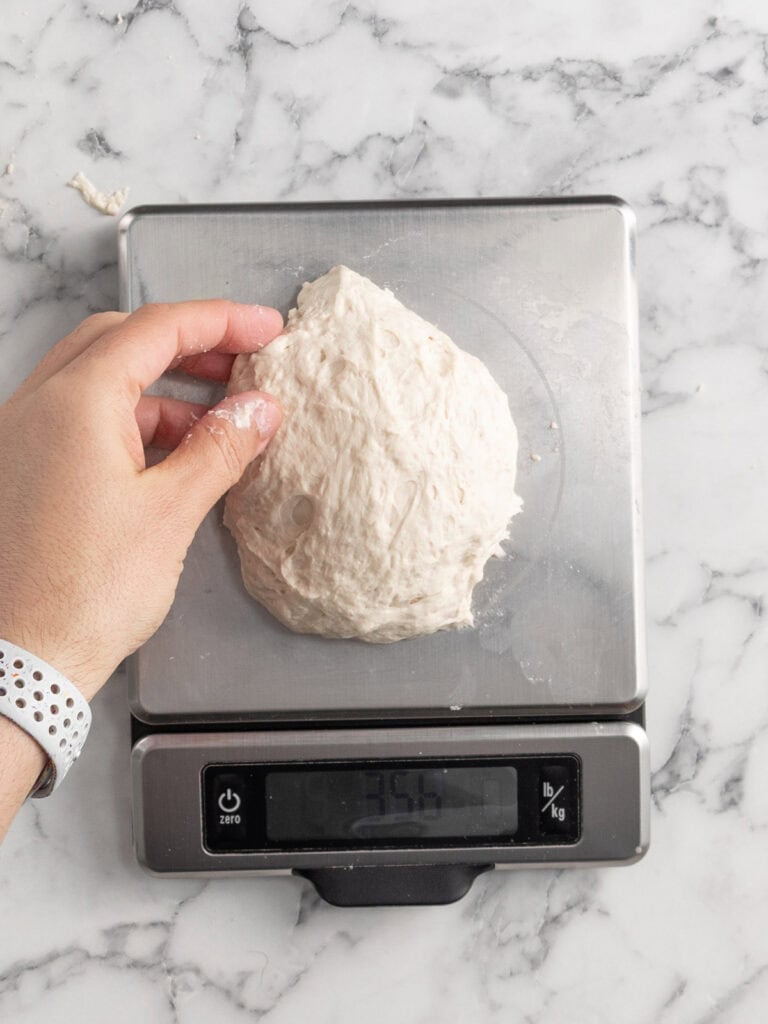
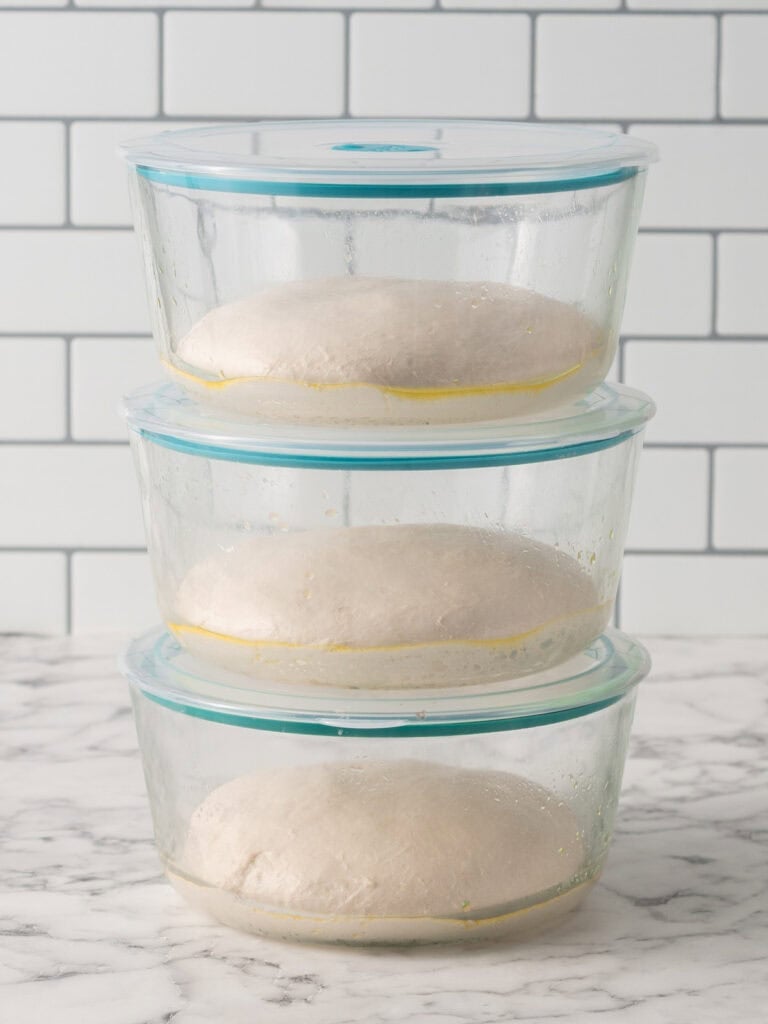
Once the cold fermentation is complete, the dough is divided into three equal portions. Using a digital kitchen scale is highly recommended for precision. These portions are then placed into individual containers for a final, room-temperature rise. This 2- to 3-hour window is critical; it allows the dough to relax, ensuring that when you go to stretch it, it won’t snap back into a ball.
The Art of Shaping and Stretching
Stretching the dough is a skill that requires muscle memory. After the final rise, the dough should be soft, puffy, and alive with air bubbles. Using fine semolina flour on your work surface provides the necessary friction to prevent sticking while allowing the dough to slide easily.
The shaping process should be done with confidence. Using your fingers to create a perimeter—the "cornicione"—you gently push the air from the center of the dough out toward the edges. It is a common mistake for beginners to be overly aggressive; treat the dough with respect, and it will reward you with a beautiful, rounded shape. If the first few attempts result in an imperfect shape, do not be discouraged. The flavor profile remains identical, and with practice, the aesthetic mastery will follow.
Baking: Home Oven vs. Pizza Oven
One of the most frequent questions regarding this recipe is whether a professional pizza oven is required. The answer is a resounding "no." While an outdoor, high-temperature pizza oven will provide the intense heat necessary for "leopard spotting" (the charred dark spots on the crust), a conventional home oven can produce a remarkable result when paired with a high-quality pizza steel or stone.
The Home Oven Method
To achieve the best results in a standard kitchen, preheat your oven to its maximum setting for at least an hour. The use of a pizza steel is highly recommended as it transfers heat to the base of the pizza much more efficiently than a stone, ensuring a crisp bottom even without the high-intensity flame of a wood-fired oven.
The Pizza Oven Method
For those using an outdoor oven, such as the Ooni Koda 2, the process is accelerated. Preheat the oven for 30 to 40 minutes until it reaches approximately 400°C / 750°F. Once the pizza is launched, it is vital to turn down the heat to a medium-low setting. Without this adjustment, the extreme heat will scorch the exterior before the center has a chance to properly set and rise.
Implications and Culinary Versatility
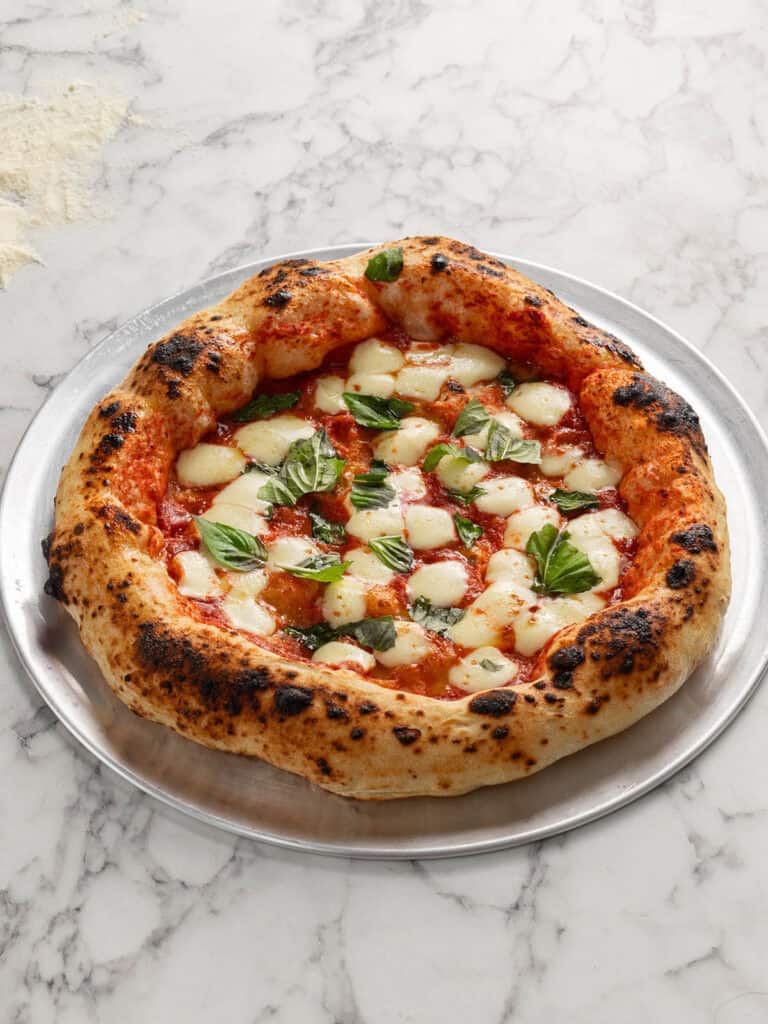
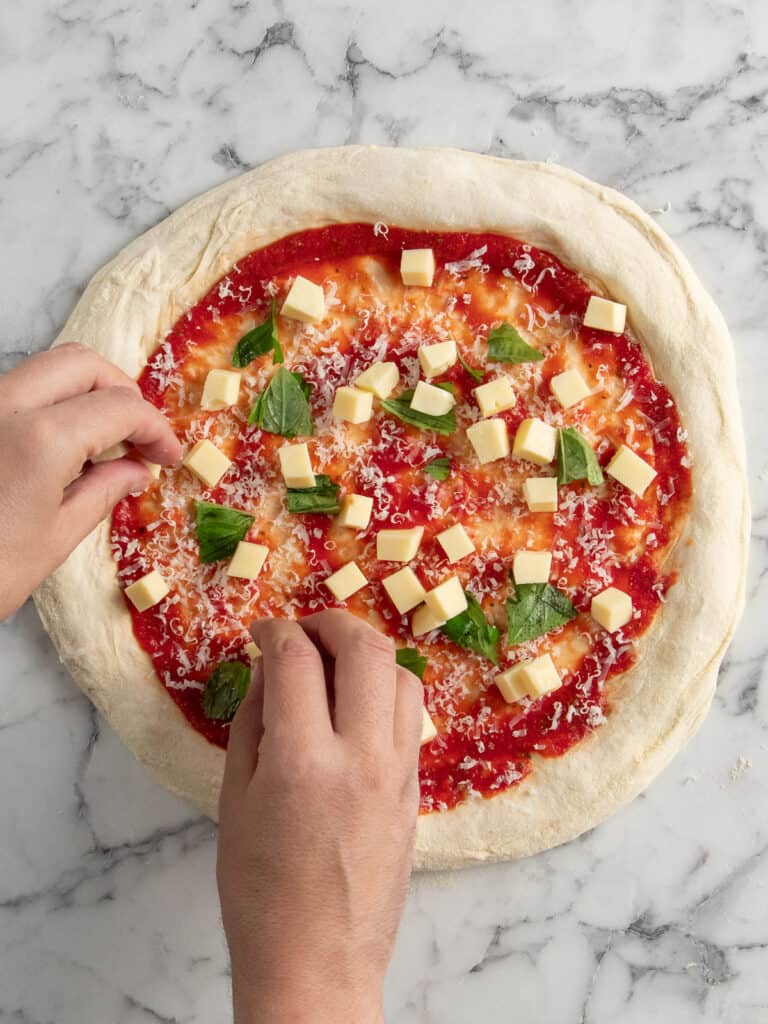
The beauty of this dough recipe lies in its versatility. While the classic Margherita—tomato, fresh mozzarella, and basil—remains the gold standard for testing the quality of a crust, this base supports a wide array of gourmet toppings.
For a more modern approach, consider a smoked-salmon pizza. By baking the base with light seasoning and finishing it after the oven with high-quality smoked salmon, fresh rocket (arugula), and a lemon-dill yogurt sauce, you create a dish that balances the warmth of the crust with cool, vibrant toppings.
Alternatively, the dough can be repurposed into a calzone. By proofing smaller balls of dough and folding them over savory fillings, you can achieve a completely different mouthfeel and dining experience, proving that this base is as functional as it is delicious.
A Note for the Home Chef
The journey to the perfect pizza is one of continuous improvement. As Nick Makrides notes, his own daughter, a discerning four-year-old "pizza snob," now consumes the crusts of this recipe—a testament to the texture and flavor achieved through this specific, time-intensive process.
The most important takeaway for any home baker is that errors are simply part of the learning process. The first pizza may be misshapen, or the second may be slightly under-baked, but the flavor of a slow-fermented, high-quality dough will always shine through. By focusing on the quality of the flour, respecting the time required for fermentation, and practicing the gentle art of stretching, you are not just making dinner; you are mastering a craft.
As you continue to experiment with these techniques, remember to document your findings, adjust your hydration levels if necessary, and, above all, enjoy the process of bringing the pizzeria experience into your own home. Whether you are serving a traditional Margherita or a bold, experimental creation, the combination of a chewy, bubbly crust and fresh ingredients is an unbeatable reward for your patience and dedication.

 Ali Ikhwan